Using Icon in Your Design and Development Project
Know some cool ways to implement icons
- css
- html
- figma
- web-dev
- design
Who doesn't know icons? We see it everywhere in our phone, pc, laptop, tablet, etc. They each serve a purpose. And as a designer and developer, you also use and include them in your projects. But how do we use icons actually?
Well, without further ado let's head straight right into the first topic :)
Definition
Icon, as defined in Meriam Webster, is a graphical symbol which appears on computer screen that represents an app, an object, or a function. It can also be defined as a sign that conveys a specific meaning.
In short, icon is a symbol that represents something on computer screen.
Why icons
Icons are used wherever and whenever simplicity is needed. These small and compact graphics have deep meaning to it and users can easily recognize what each icon means.
Icons make it possible to build a less cluttered designs without sacrificing readability.
Another advantage from ysing icons is that they are highly space efficient. Icon designs are always made to be as compact as possible, with 1:1 dimension.
Aesthetics can also be achieved by adding some icons to your project. They give visual interests and interaction to users.
How to use icons
There are many ways to include icons in your project, whether it's a design project or web development project.
I've compiled a long list of free and open source icons to use in my article Royalty Free Web Development Resources. Make sure to check it out :)
For today's article, I use Remixicon icons. As I've said before, we can include this in design and also development projects.
Let's just jump straight into the first one :)
Design Project
If you're a web or app designer or just starting to get into it, I highly recommend using Figma. Figma is a UI/UX design tool alternative to AdobeXD. It offers a free plan that's already equipped with all the stuff you need to start designing your own web or app :). If you want to know more about Figma, I've written a whole article dedicated to Figma including covering the basics of it. You can check it out here.
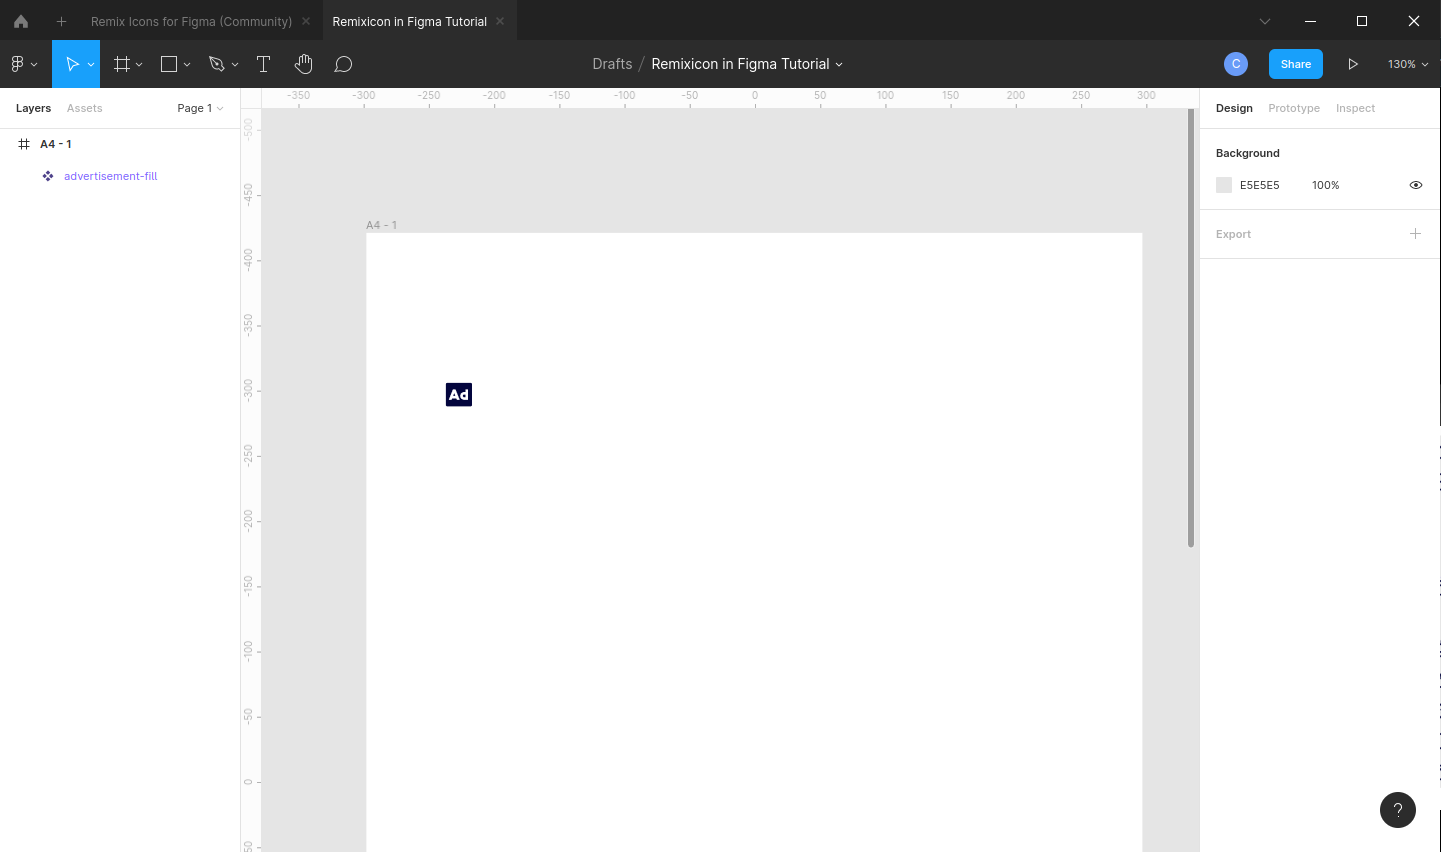
To start with, let's open up Figma app. Open your project or make a new one if you haven't made one. On the top left corner, below the home symbol, click on the Figma logo. It should display a dropdown list of menu.
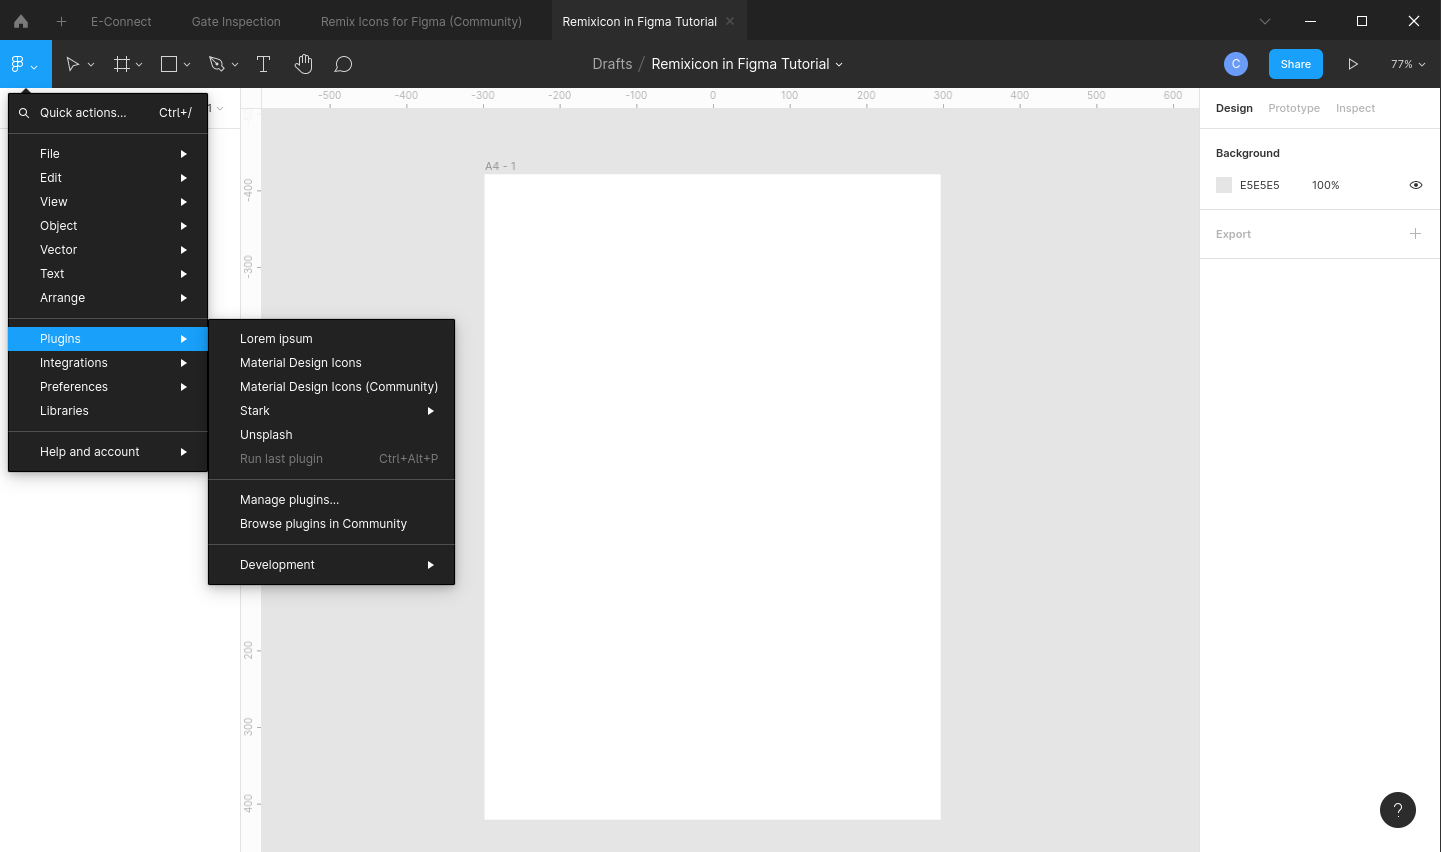
Hover over the "Plugins" menu, then click the "Browse plugins in Community" option. You browser should open with figma plugins page.
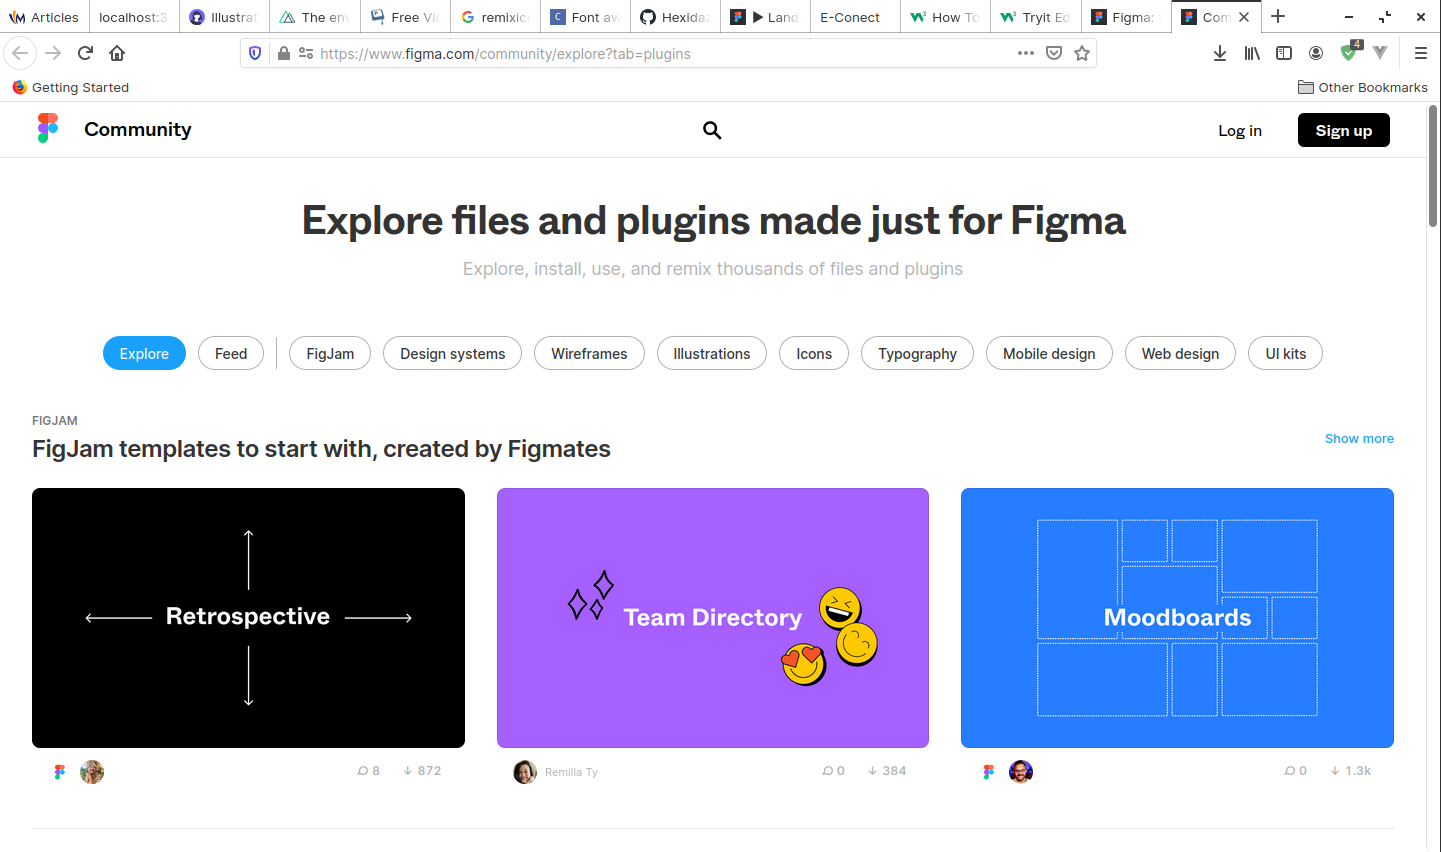
Type "remixicon" on the searchbar at the top of the page. Right now, there aren't any Remixicon plugins for Figma yet. However, we can fake it by duplicating a collection of Remixicon's icons files to our Figma. That way we can access it whenever we want, even when we're offline.
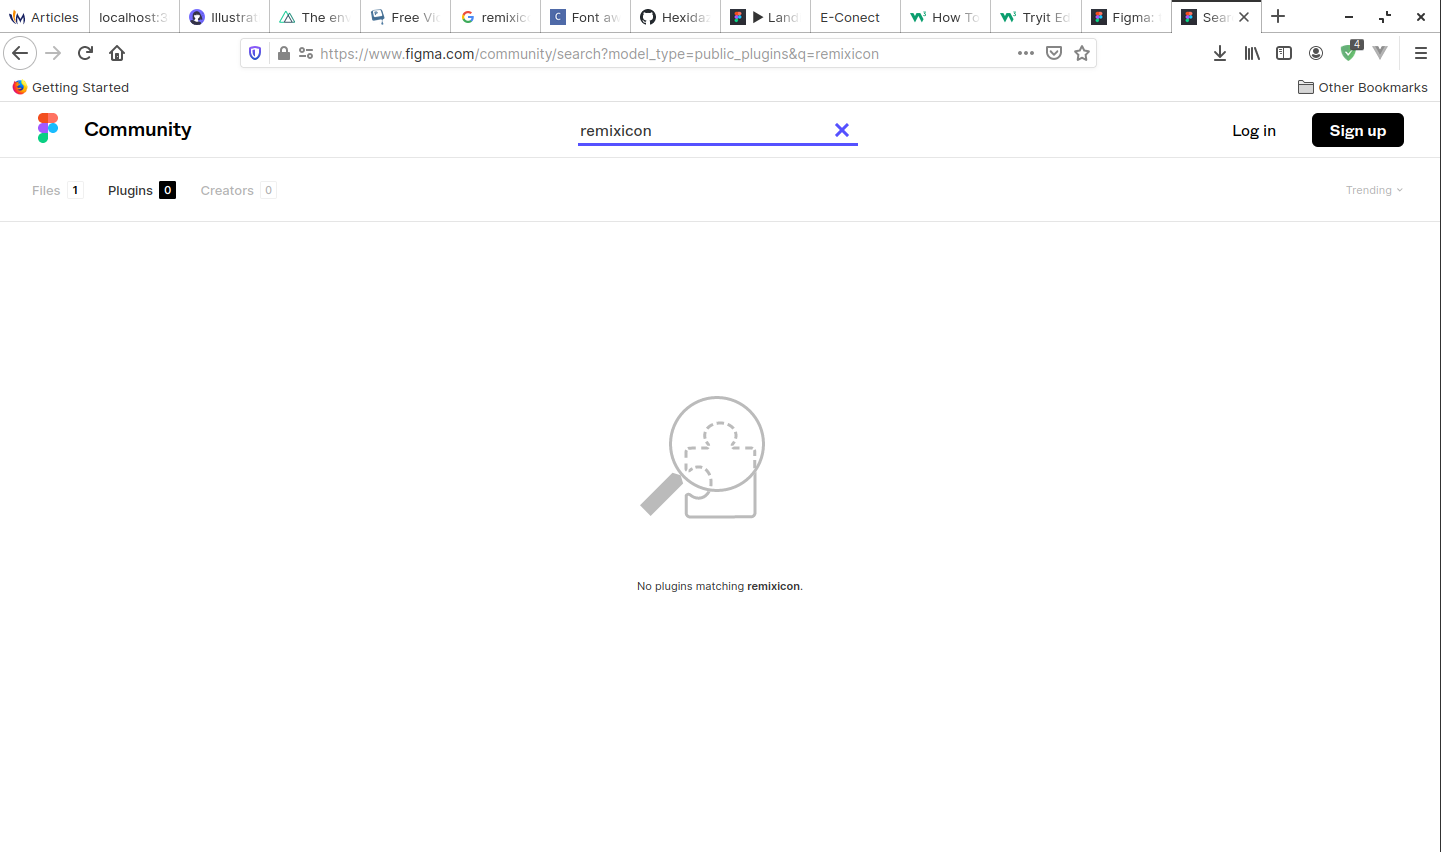
Back to the web browser, navigate to the "Files" tab, just on the left side of "Plugins" tab. There you can find the one and only Remixicon file. Click on it and you'll be redirected to the next page.
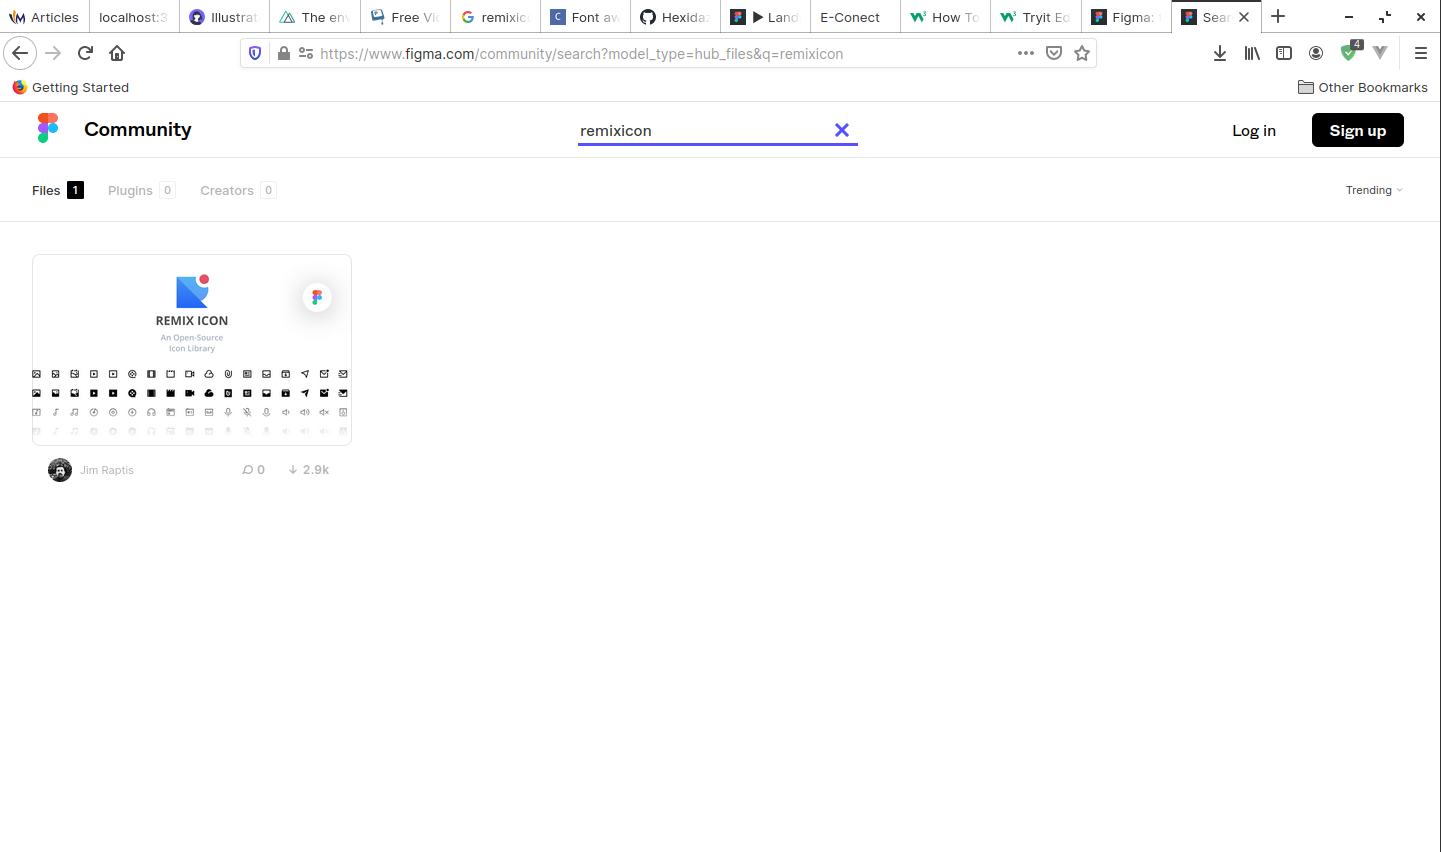
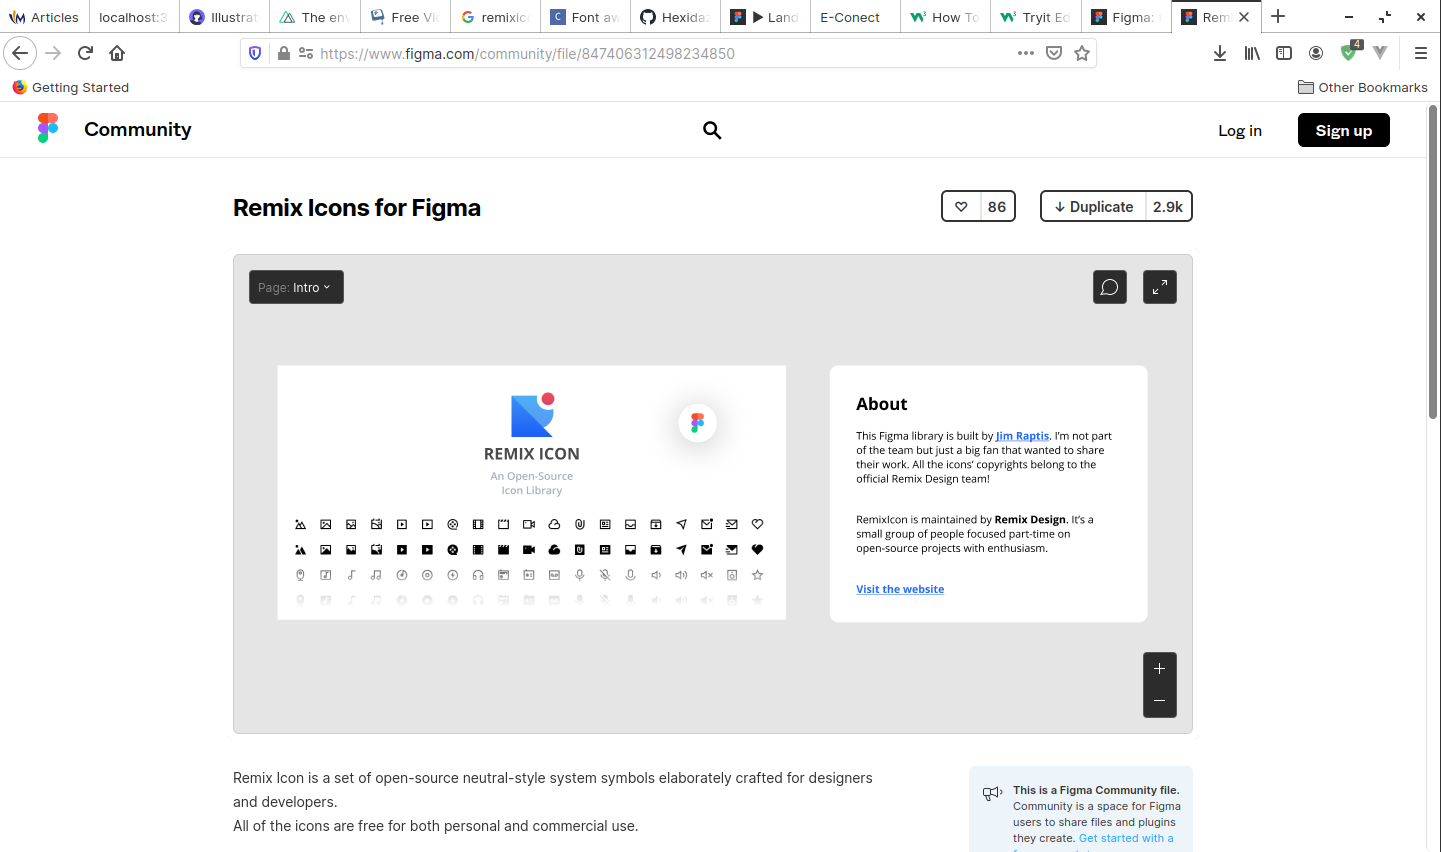
In here, click on "Duplicate". In a split second, you'll have your Figma open in your web browser and you'll find the Remixicon file is now copied to you. Close Figma web and go back to your Figma app. Double click on your project named "Remixicon for Figma (Community)". This is the file we downloaded earlier through Figma plugins page.
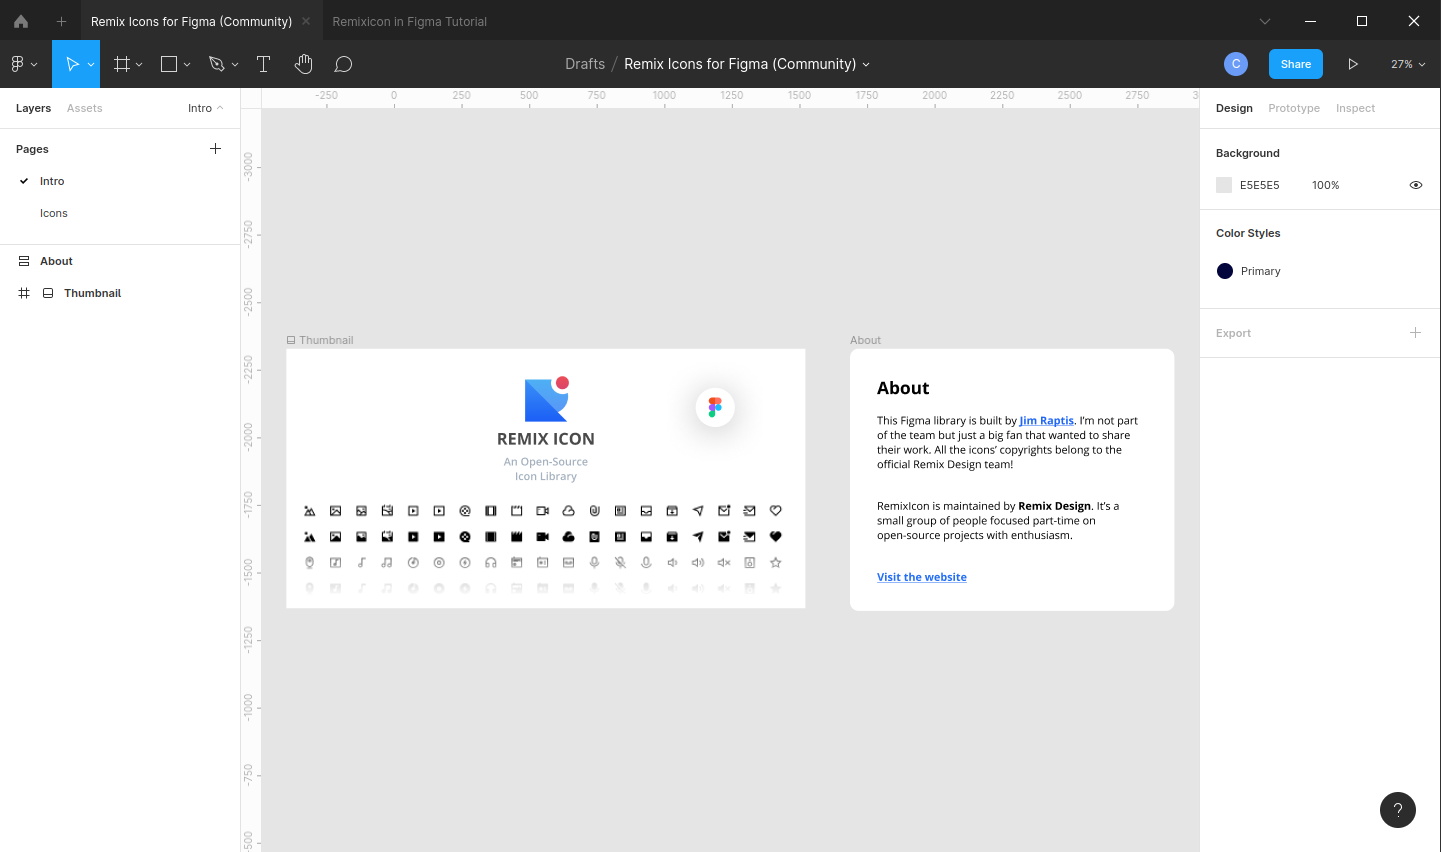
When you open this file, you won't be able to find any icons that can be used unless you navigate to the Icons page.
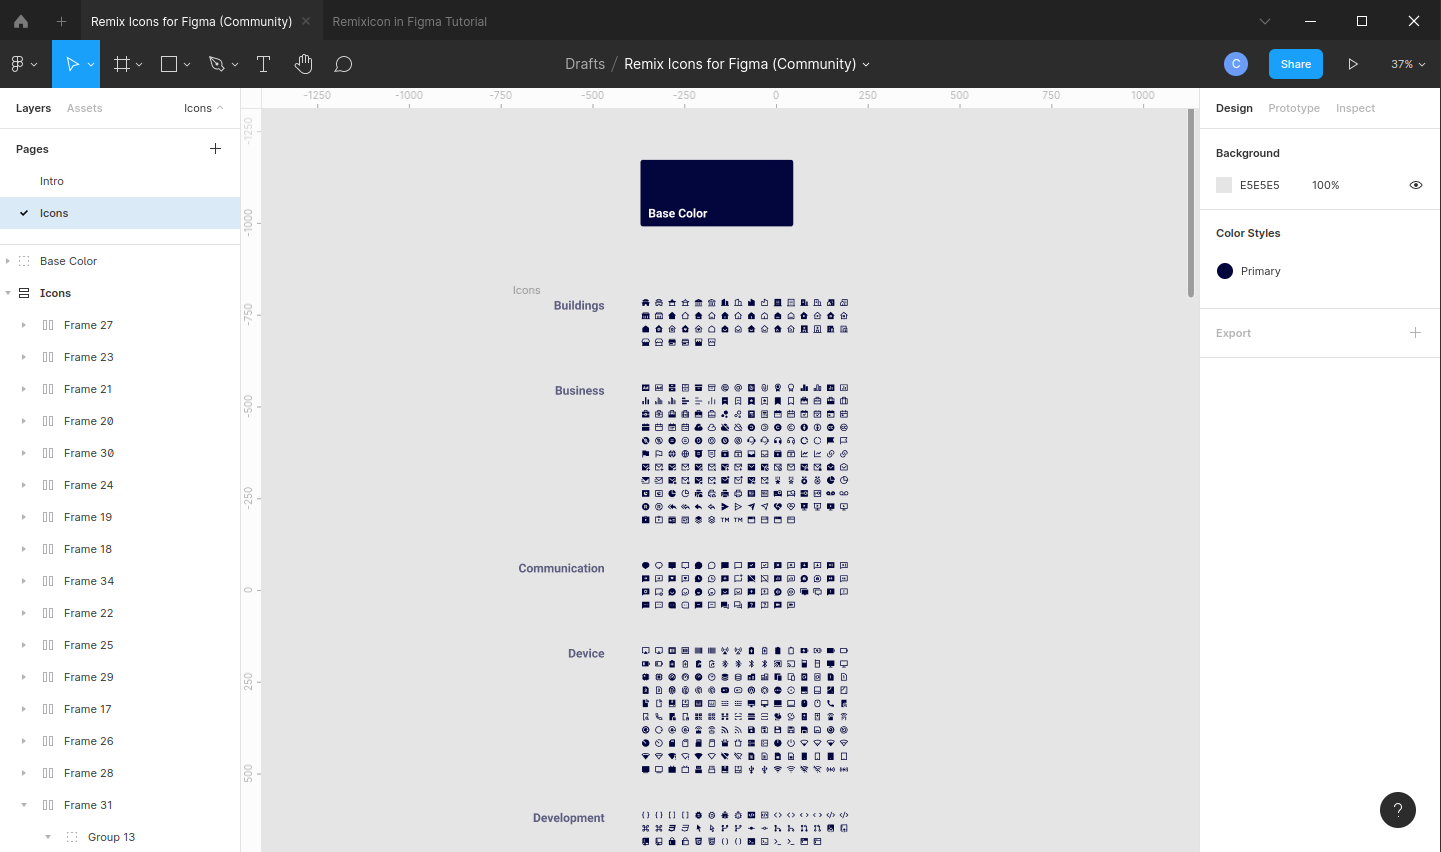
Double click 2 times on the icon you want to use. When the icon is selected, press ctrl + c to copy it to clipboard. After that, navigate back to your project tab and hit ctrl + v.
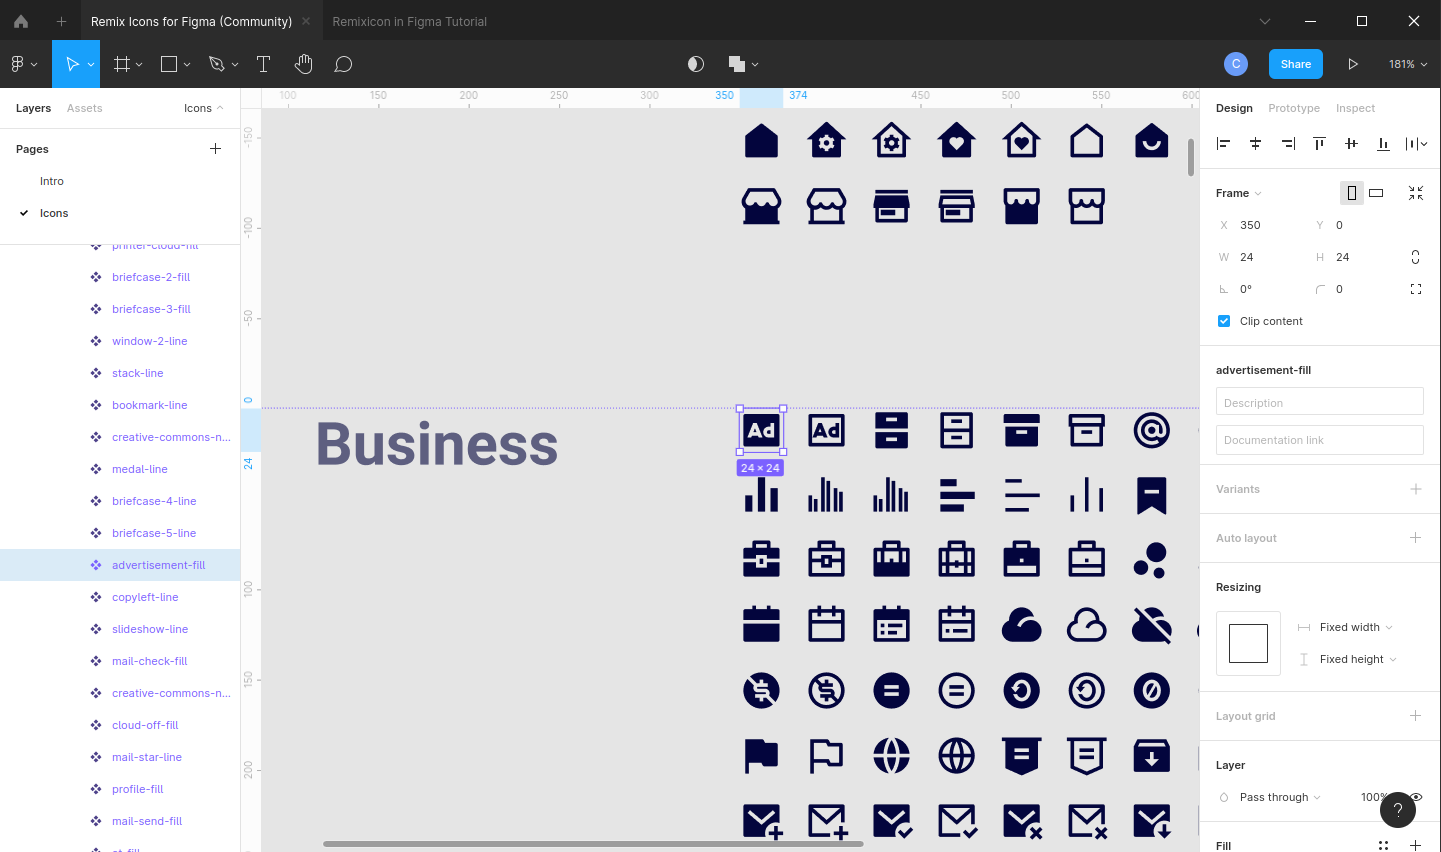
Useful note: keep your remixicons file open throughout your work. This makes it easier and quicker for you to navigate back and forth copy-pasting icons :)
There you have it, you are now able to include our beloved Remixicon icons to your projects :)
Web Development Project
There are several ways to use Remixicon in your project. Make sure you import Remixicon first before attempting to use it, it won't work without any prior install (or link). If you already have it on your project, you can go on read the next paragraph :)
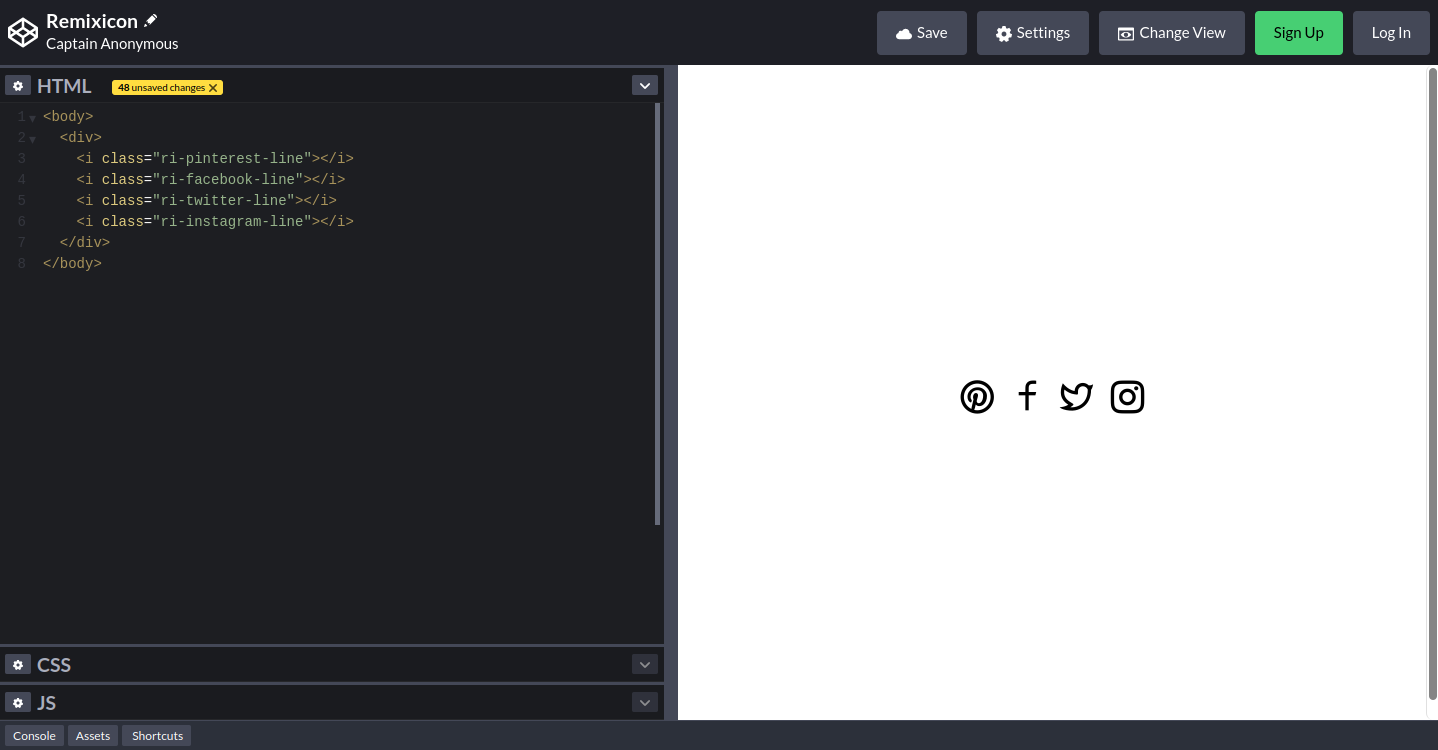
As you already know, we can use icons using the <i/> tag and giving it a class of the icon we want. For example, this code below ...
<body>
  <div>
    <p>Using <code>i</code> tag</p>
    <i class="ri-pinterest-line"></i>
    <i class="ri-facebook-line"></i>
    <i class="ri-twitter-line"></i>
    <i class="ri-instagram-line"></i>
  </div>
</body>
... will output
But, did you know? You are not limited to just the <i/> tag to include icons! <p>, <a>, <span>, <ul>, <li>, and <div> can use the same class and output the same icons.
<body>
  <div class="ri-remixicon-line">
    This div has an icon class
    <br>
    <b>Using other tags</b>
    <p class="ri-pinterest-line">I'm a paragraph</p>
    <a class="ri-facebook-line" href="#">I'm a link</a>
    <ul class="ri-twitter-line">
      I'm ul
      <li class="ri-instagram-line">I'm ul's child</li>
    </ul>
  </div>
</body>
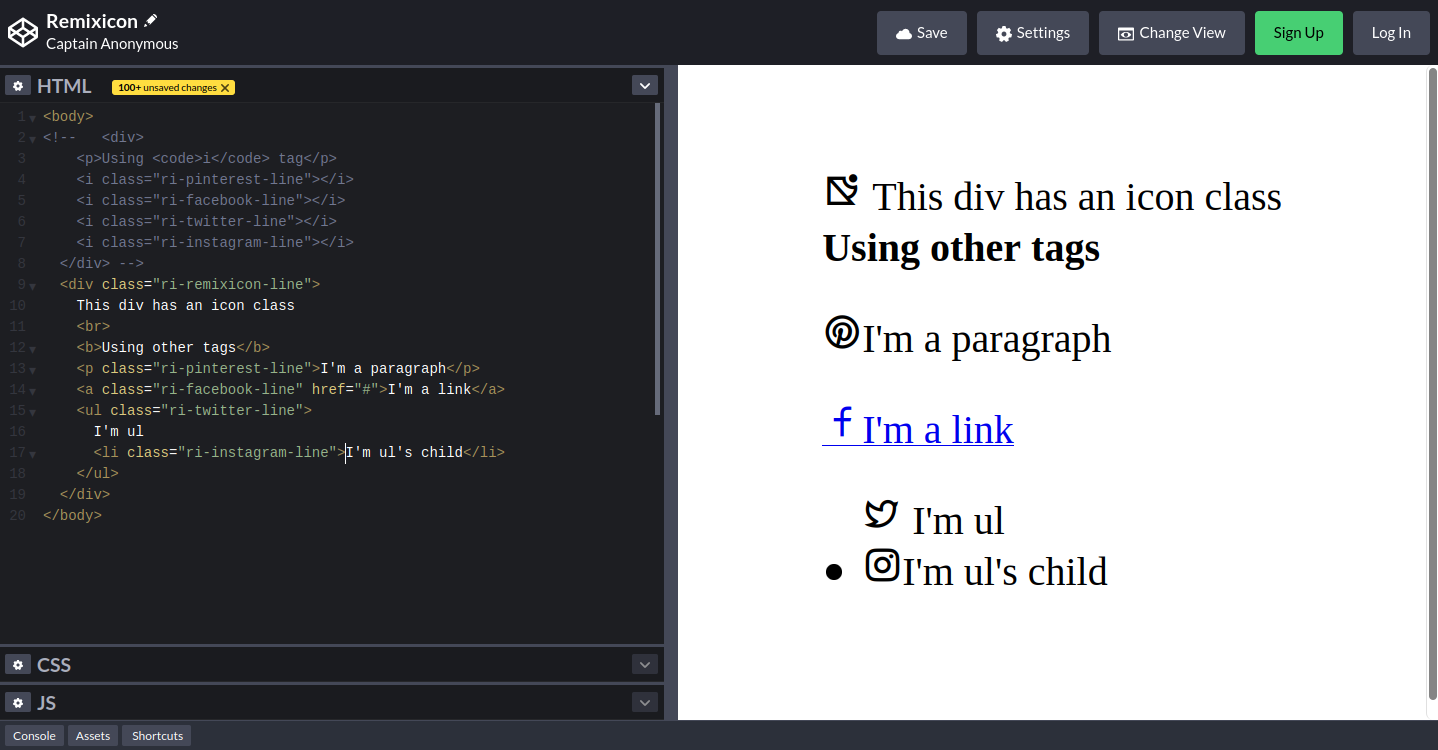
Now you should notice something here. All icons appear before any text we put in between tags. Why is this?
Let's try to inspect these elements using Firefox devtool (or Chrome devtool can also work). Once it opens, click on the arrow like symbol on top left corner. This enables you to select which elements you want to inspect. Now let's click on the first line of text.
Go back to your devtool, and look at all the styles listed for that particular element. The one we're interested in is "Pseudo-elements".
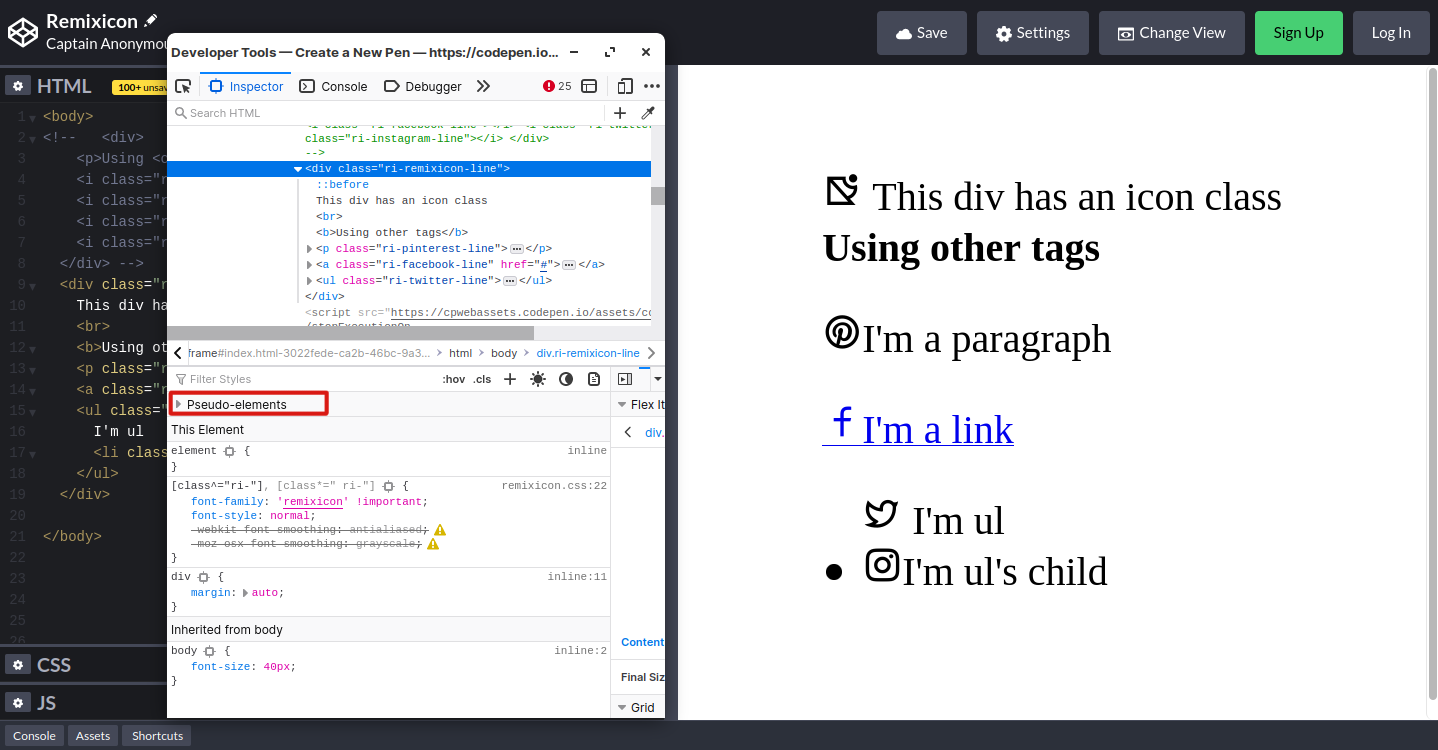
Click on it and you will see something like this.
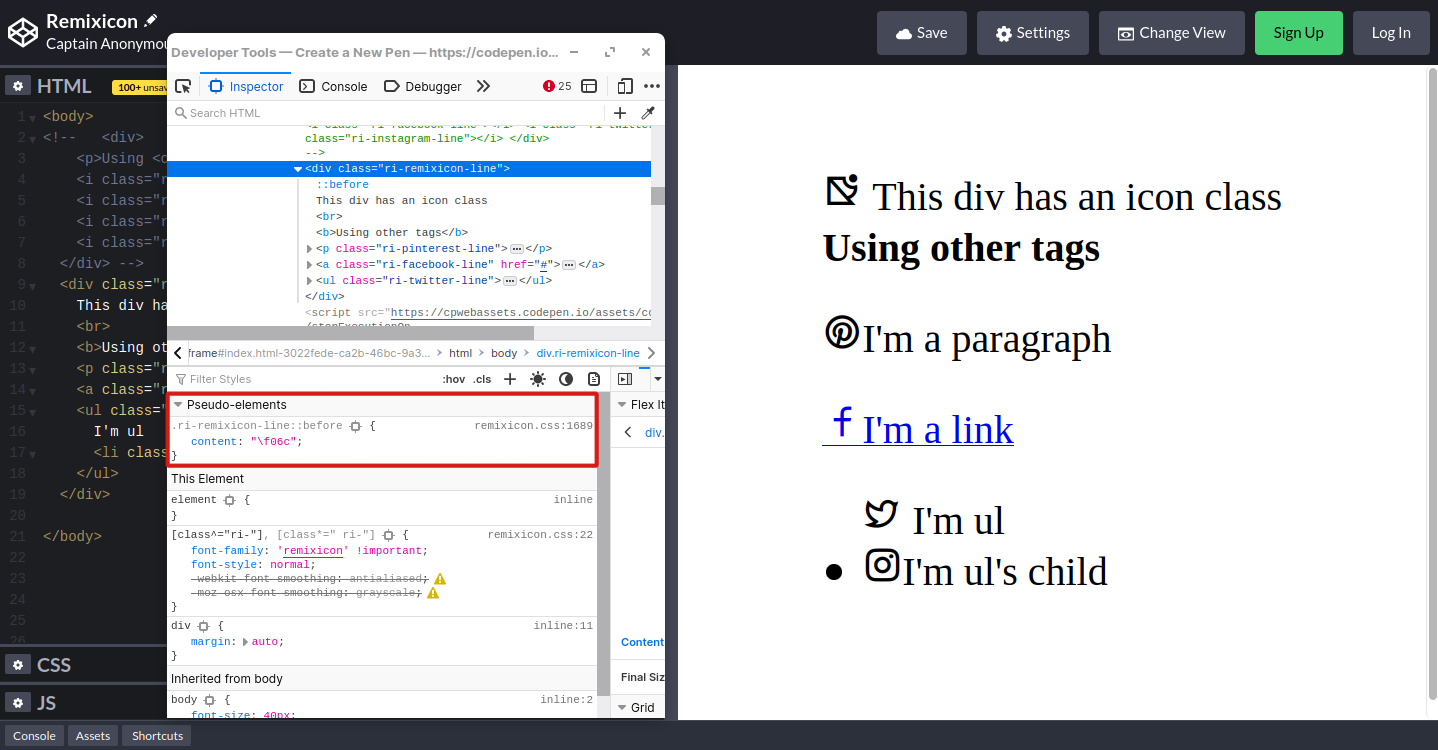
The class we gave to our <div> tag is ri-remixicon-line. And in this "Pseudo-elements" tab, we see that our class has ::before pseudo element added. If you look at the content, you'll find remixicon-line icon's "codename".
The awesome stuff is, we can use these "codenames" to add icons as tags' innerHTML :)
All we need to do is give any remixicon class to a tag (make sure it's the icon you also want to show), and then inside that tag, type every other icons' codename that you want using this format: $#x<codename>;. Omit the <> brackets when you're typing the codename.
Here's an example.
<body>
<div>
You can even stack it up using their codename!
<p class="ri-arrow-up-line">  </p>
</div>
</body>
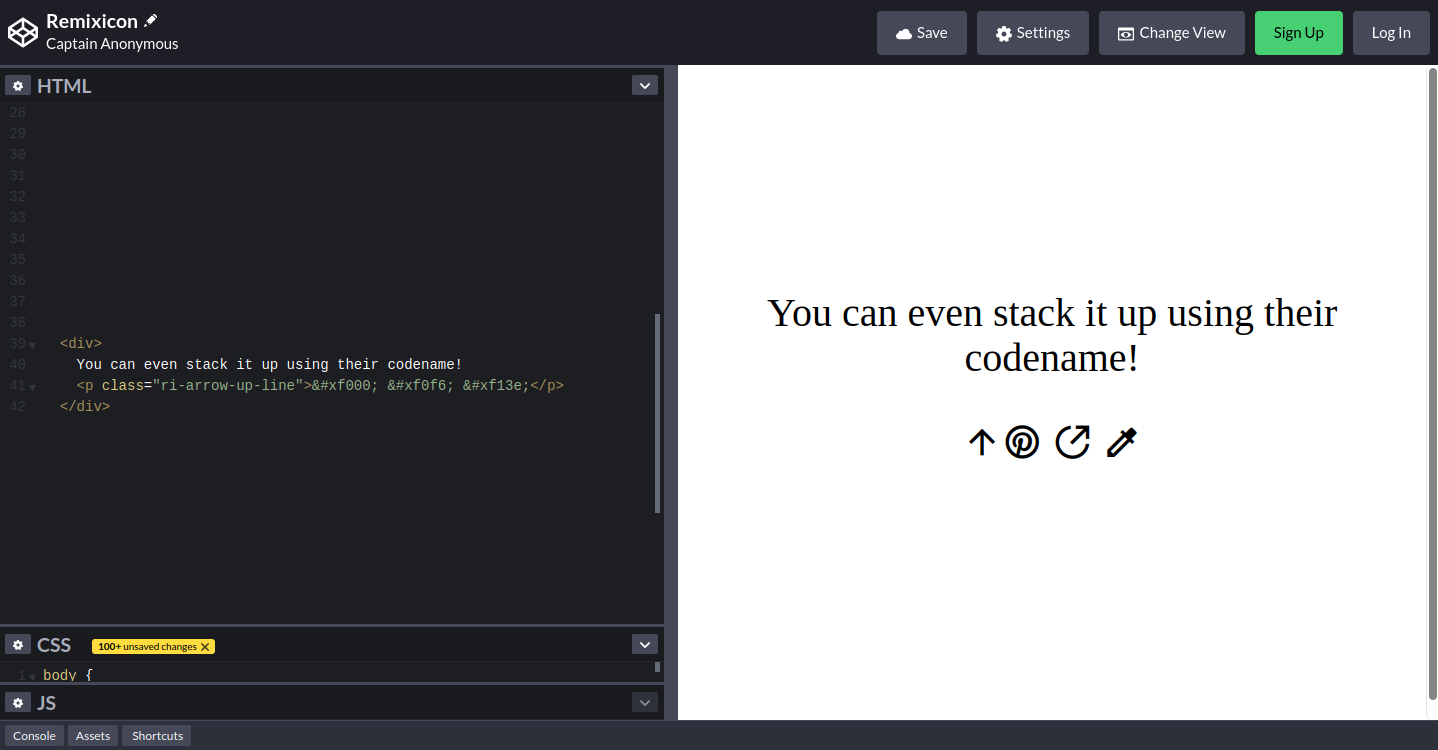
And there you have it :)
You now know how to use icon in a different approach :)
Wrapping up
Icons are symbols that are displayed on screen and conveys deep deep meaning. They are used everywhere because of their small and interactive designs. Implementation in both design and development projects are simple, you just need to make sure you have the right stuff installed :)