Deploy Your Website To Netlify in Under 10 Minutes
Discover how you can quickly put your site on the internet using Netlify
- web-dev
- netlify
What is Netlify
Netlify is an awesome web development platform which multiplies your productivity in the best possible way. It helps beginners and advanced developers to build, test, and deploy websites. As stated in their website, by unifying the modern decoupled web elements from local development processes to advanced logics, Netlify is offering an amazingly 10x faster way to ensure much more performant, scalable, and secure websites and applications.
The website industry is changing away on a continuous as well as rapid basis from monolithic to decoupled approaches. While, developers are storming ahead with much more power than ever before. However, Netlify has been developed to cater this moment. It offers incredible web automation technology as well as web hosting infrastructure, all at very affordable range.
Netlify works by connecting your GitHub (or other git provider) repository to pull your site’s source code. Then it will run a build process to pre-render your website’s pages into static HTML. The resulting pages will then be distributed and deployed across a wider range of content delivery networks. However, whenever, a user will request to access your website, it will choose a nearest data center automatically to serve users effectively.
Deploying Your Site in Less Than 5 Minutes
As we now know that Netlify connects to our Github repo to get our site's source code, it's a great time to actually make a repository for your site on Github or other git provider. If you already have one, that's great, go on and read the next steps to deploy your site quickly and easily :)
Note: Make sure you push your site's source code to you git provider such as Github, Gitlab, etc.
1. Sign up or Login to Netlify
The first step is to go to Netlify. Log into your account or sign up for free.
I personally recommend using github account to sign up to make things consistent. However, it's really up to you.
After clicking one of the option to sign up or log in, you'll need to enter the verification code sent to your email. Type that in, and you have successfully log into your account.
2. Create new site from git and deploy
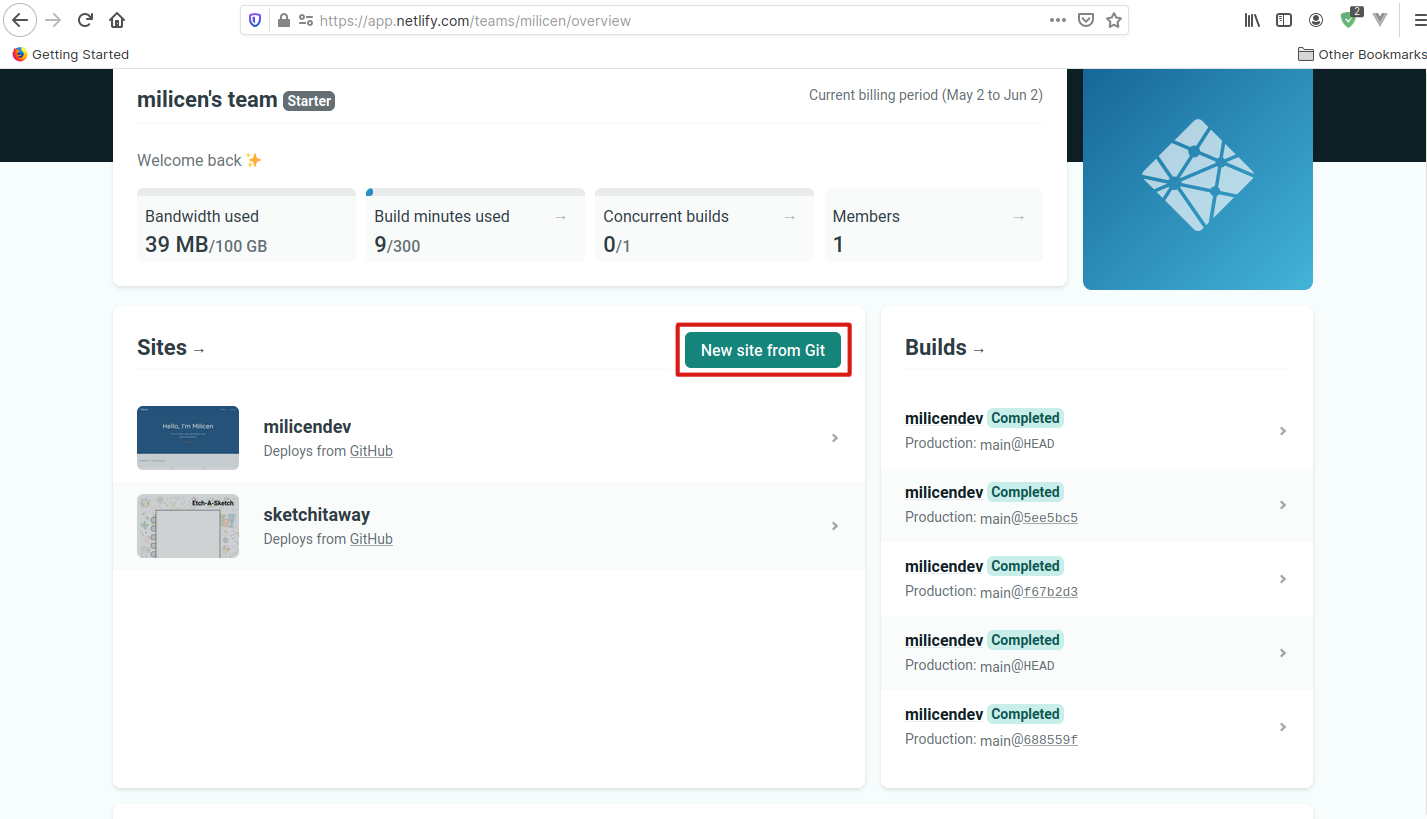
To deploy your site, on your netlify dashboard, scroll down to Sites section, and click on New Site from Git.
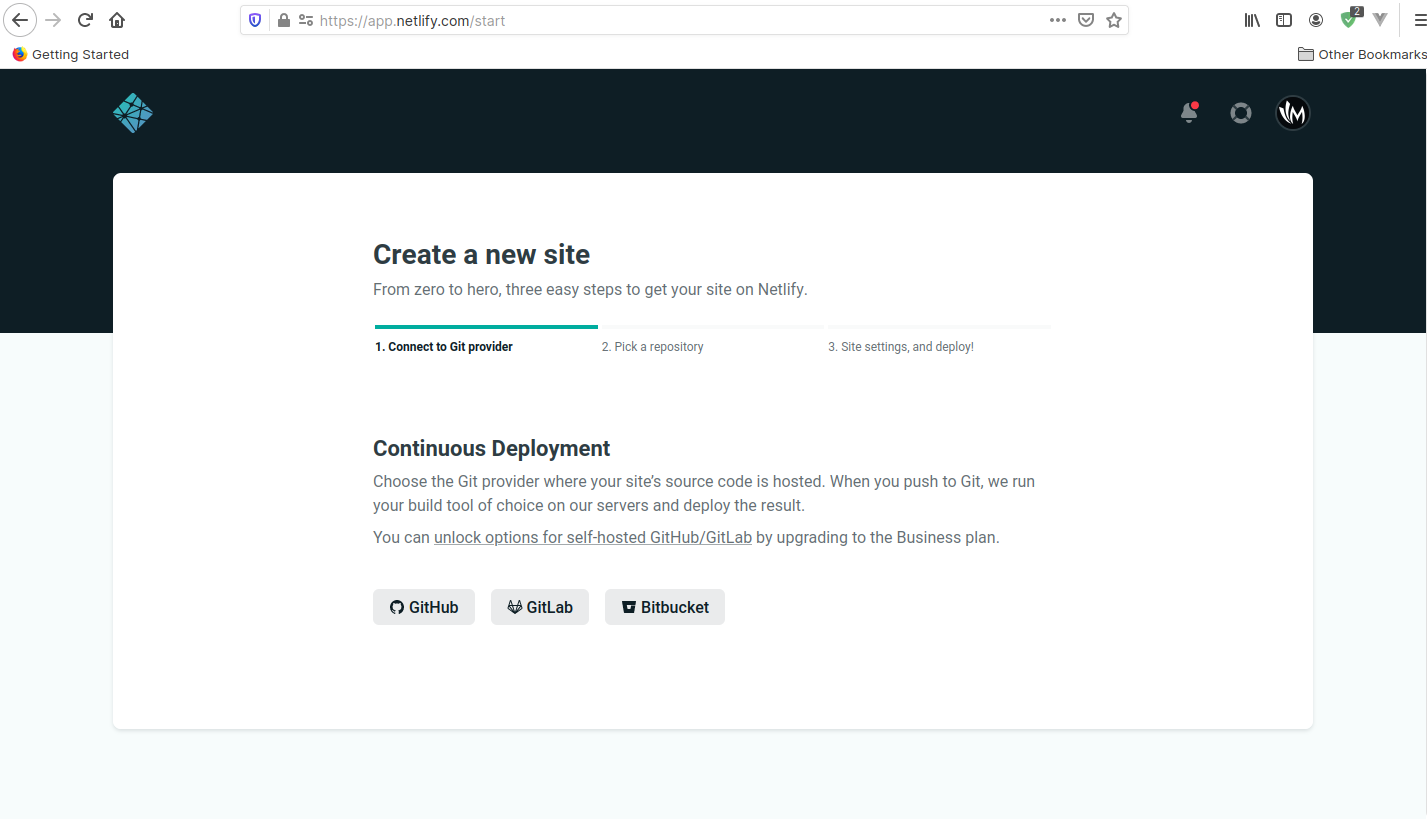
On a newly loaded page, you can choose which git provider you wish to use. Make sure you choose the one that has your site's source code.
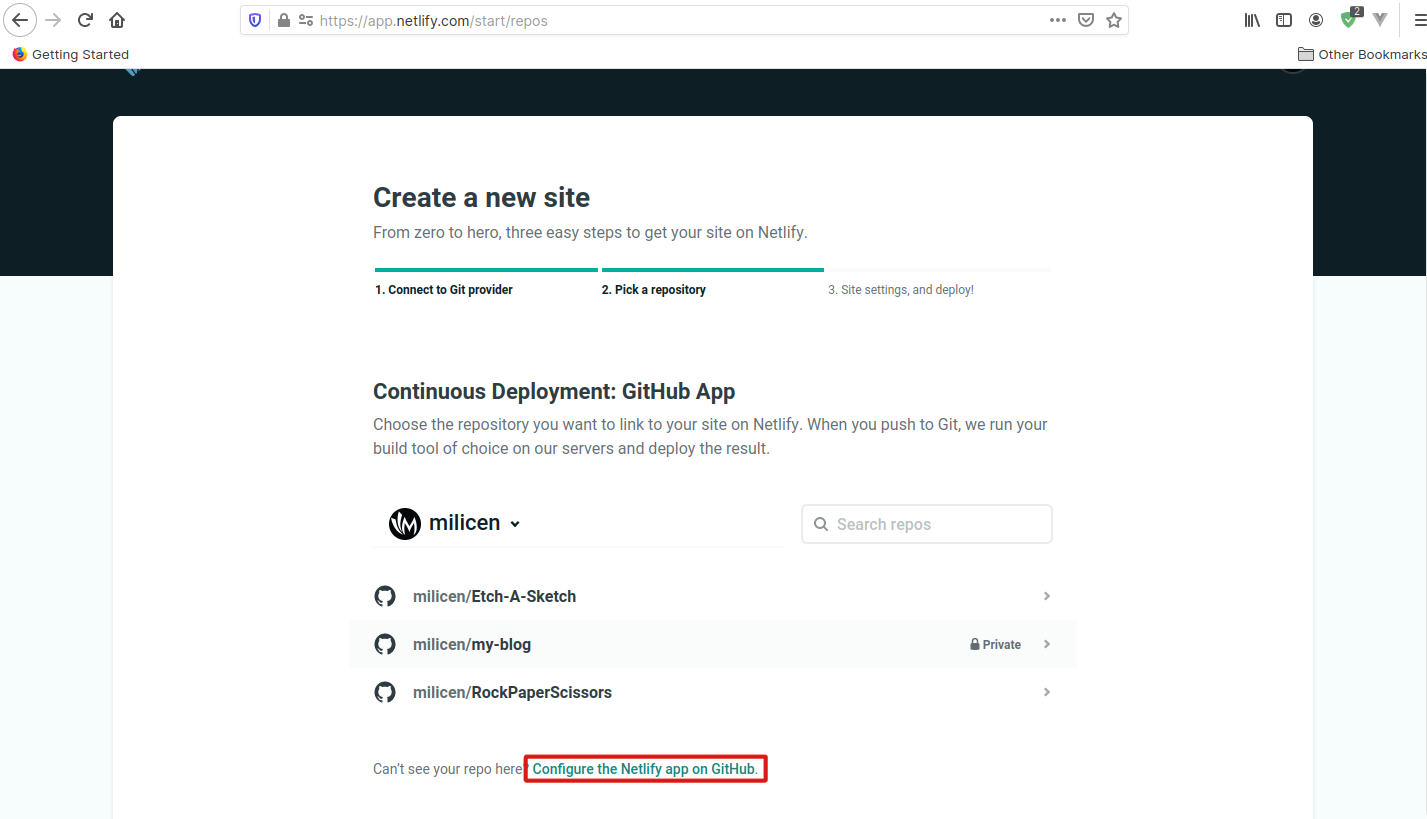
After clicking one of the options, you'll be redirected to a new page. You can choose which repository you wish to deploy.
If you don't see any repos on the page, you can click on the small a small link saying Configure the Netlify app on Github at the bottom of the search-box.
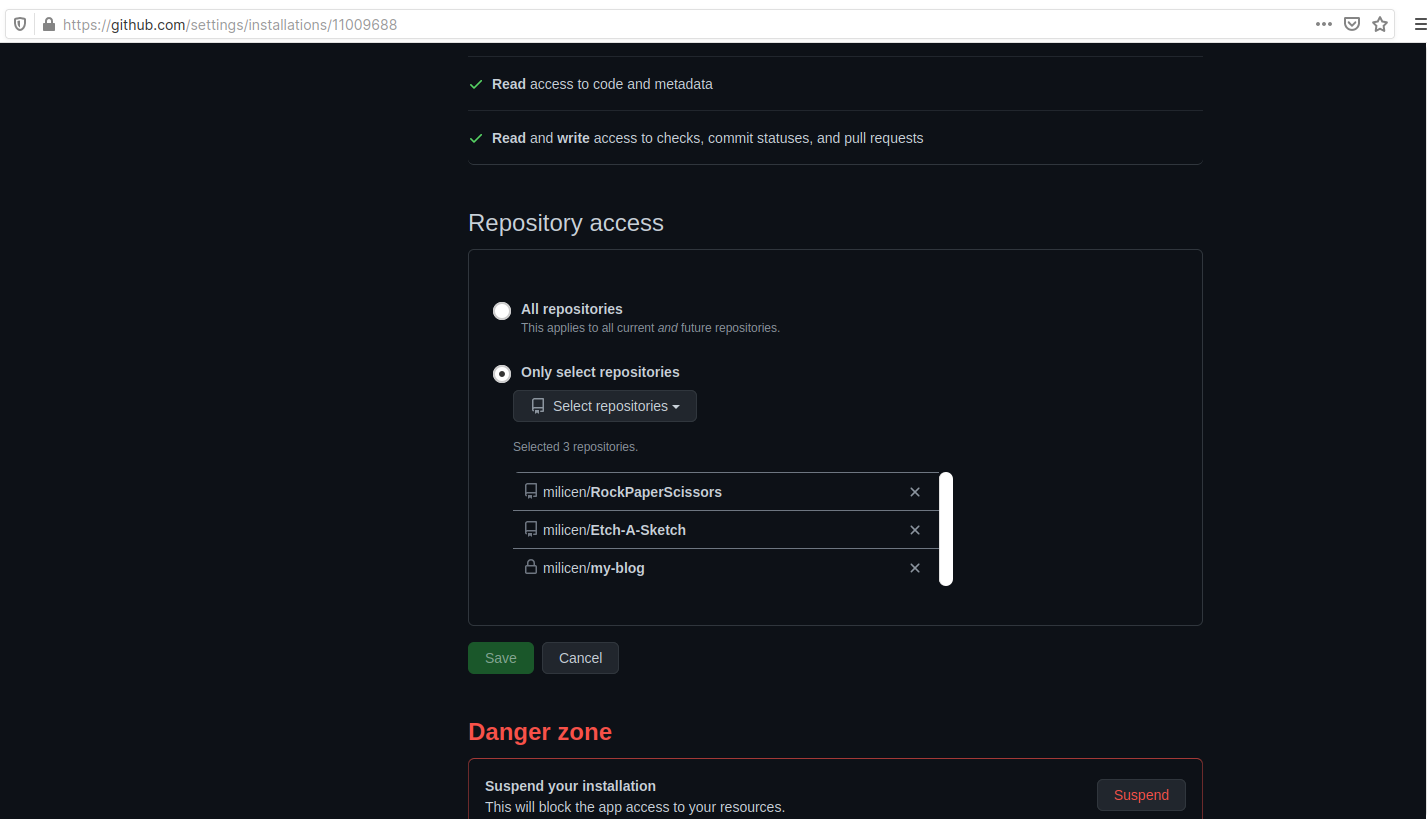
You'll be navigated to your github page with Netlify configuration opened for you. Scroll down to Repository Access section. Here you can choose to let netlify have access to all of your repo OR just the repos that you choose. This is up to you.
After cofiguring this, hit save, and you will be redirected back to the previous Netlify page. Now you can choose which repo you wish to deploy.
On the next page, you'll need to choose which branch to deploy. And if you're using a static site generator (for example Nuxt.js), you'll need to specify the build settings such as build command and the publish directory.
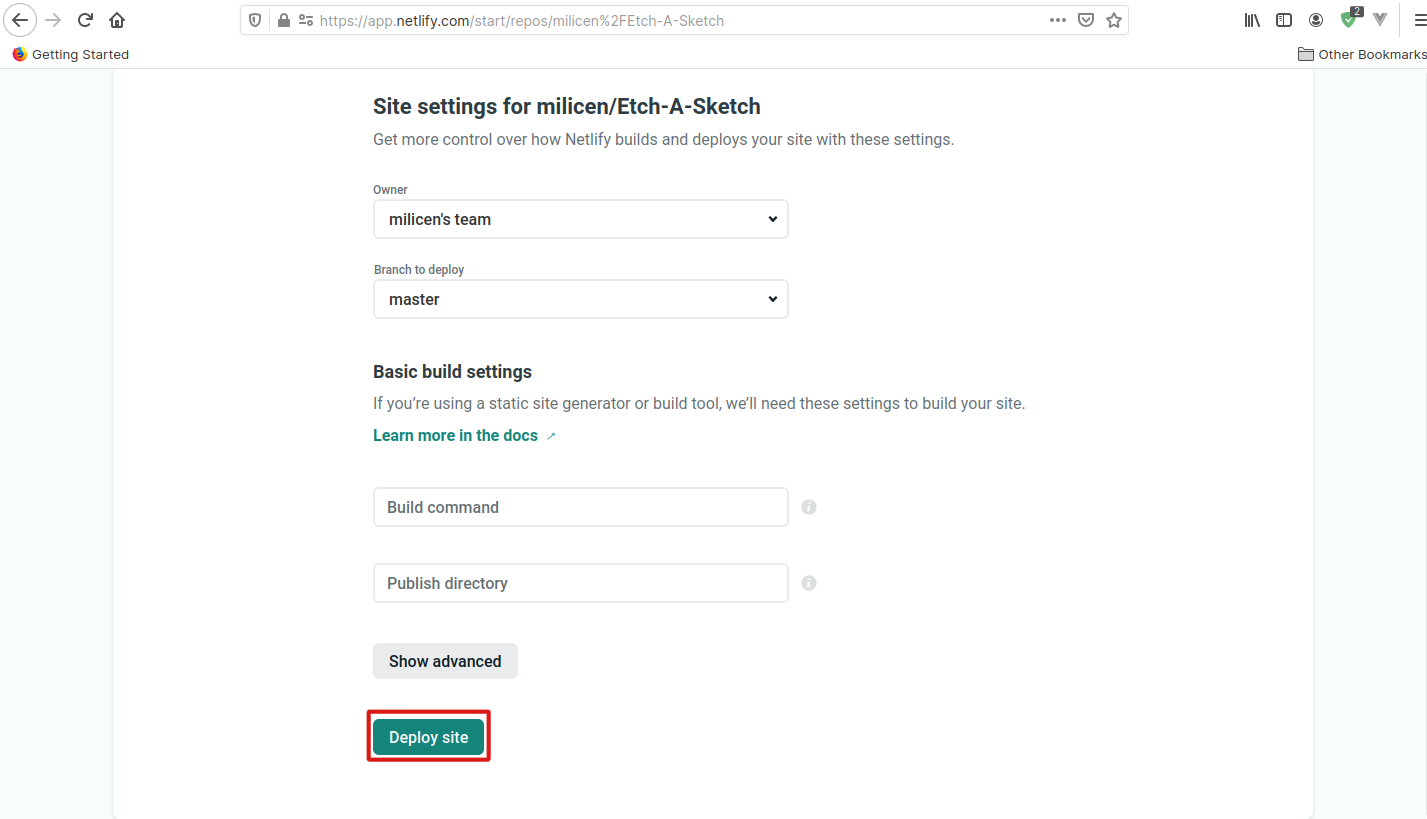
After you get that all done, hit Deploy Site to start deploying. It will take some time to deploy, but after it's done, you can immediately preview your site :)
3. Changing your domain name
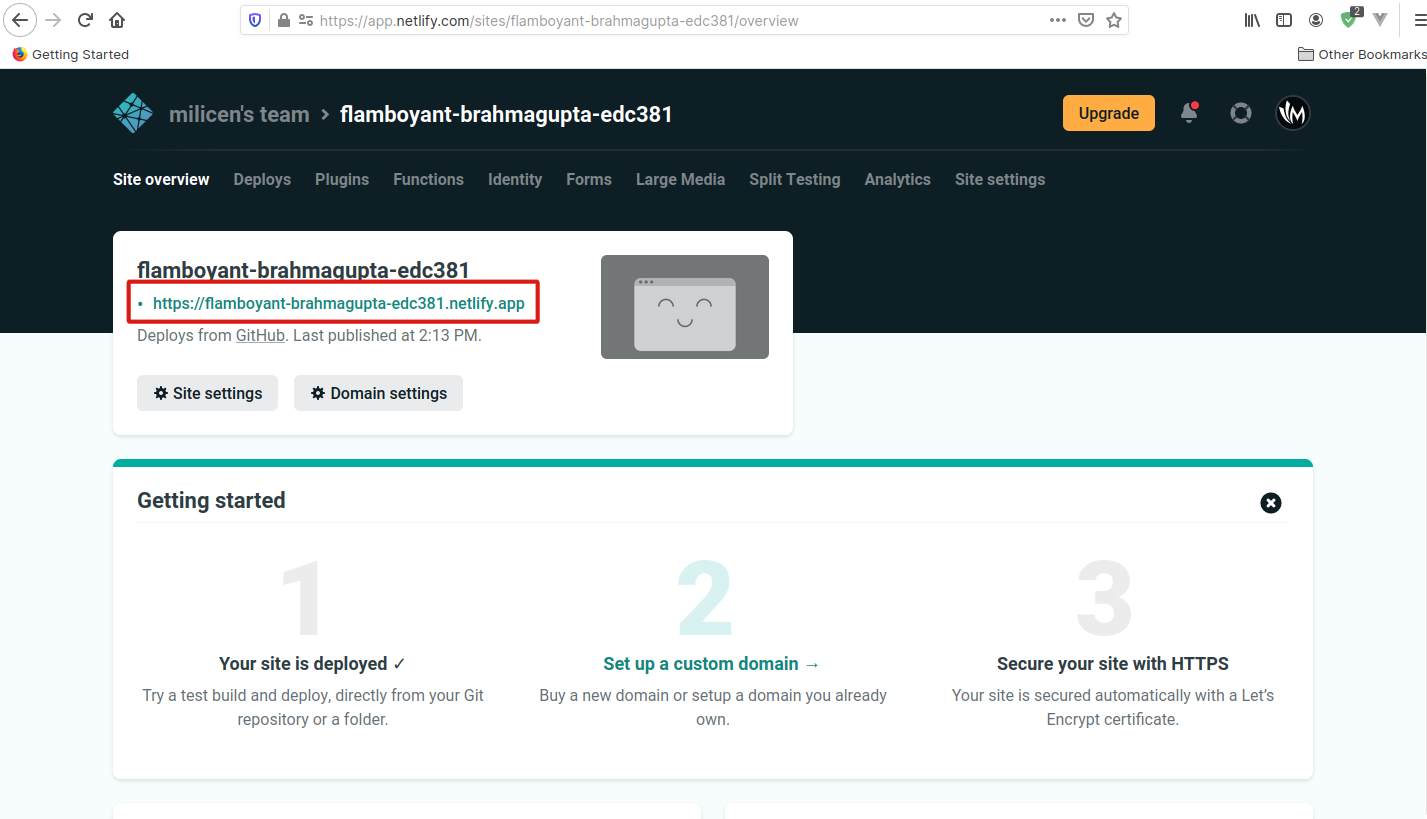
As of now, your site name's probably not appropriate. That's normal because for every newly generated site, Netlify will give it a random name.
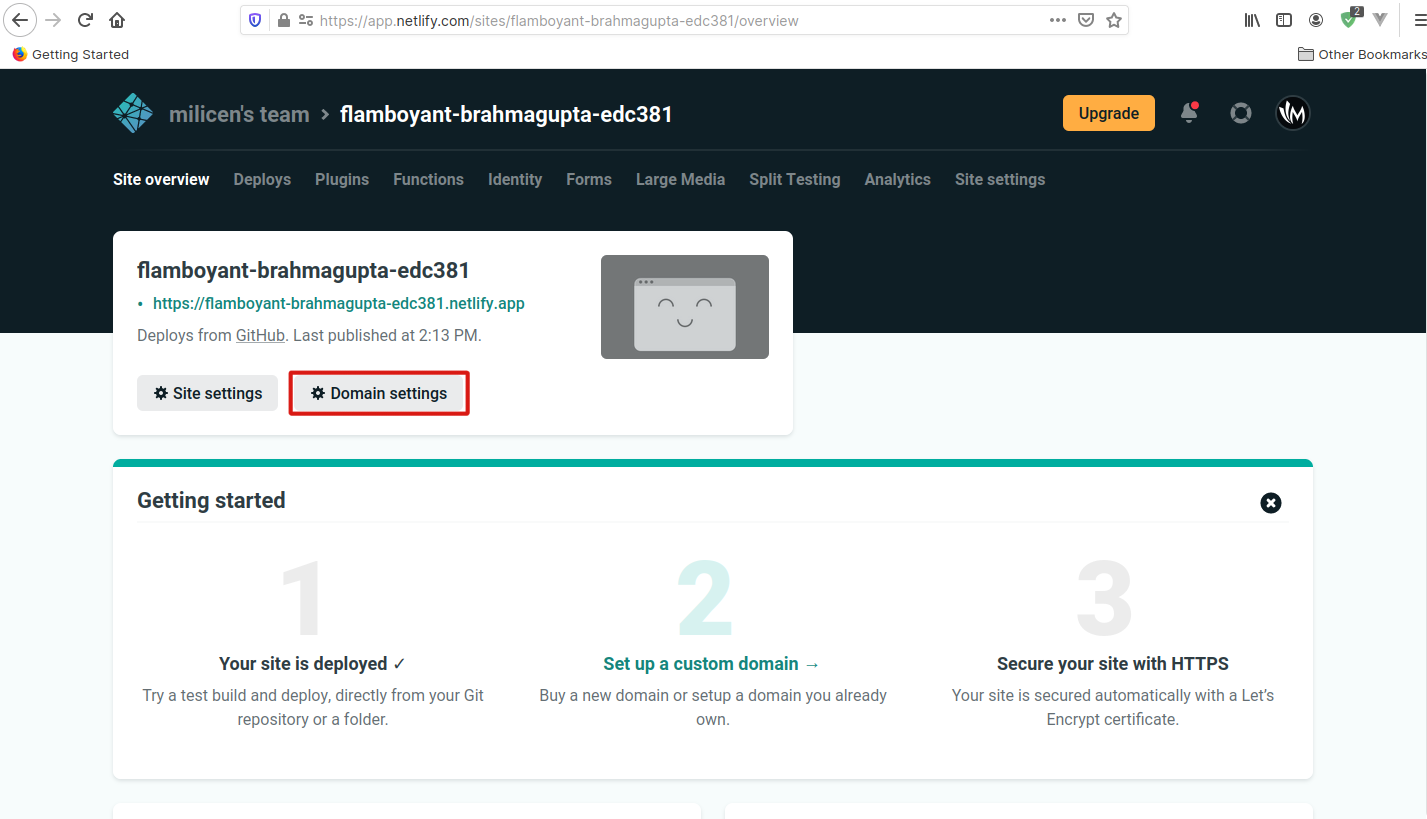
You can change this by clicking on Domain Settings. You can edit you site's name by going to Domains > Custom Domain > Click on Options under your site name. Click on Edit site name and then rename your site. After you're done, click Save.
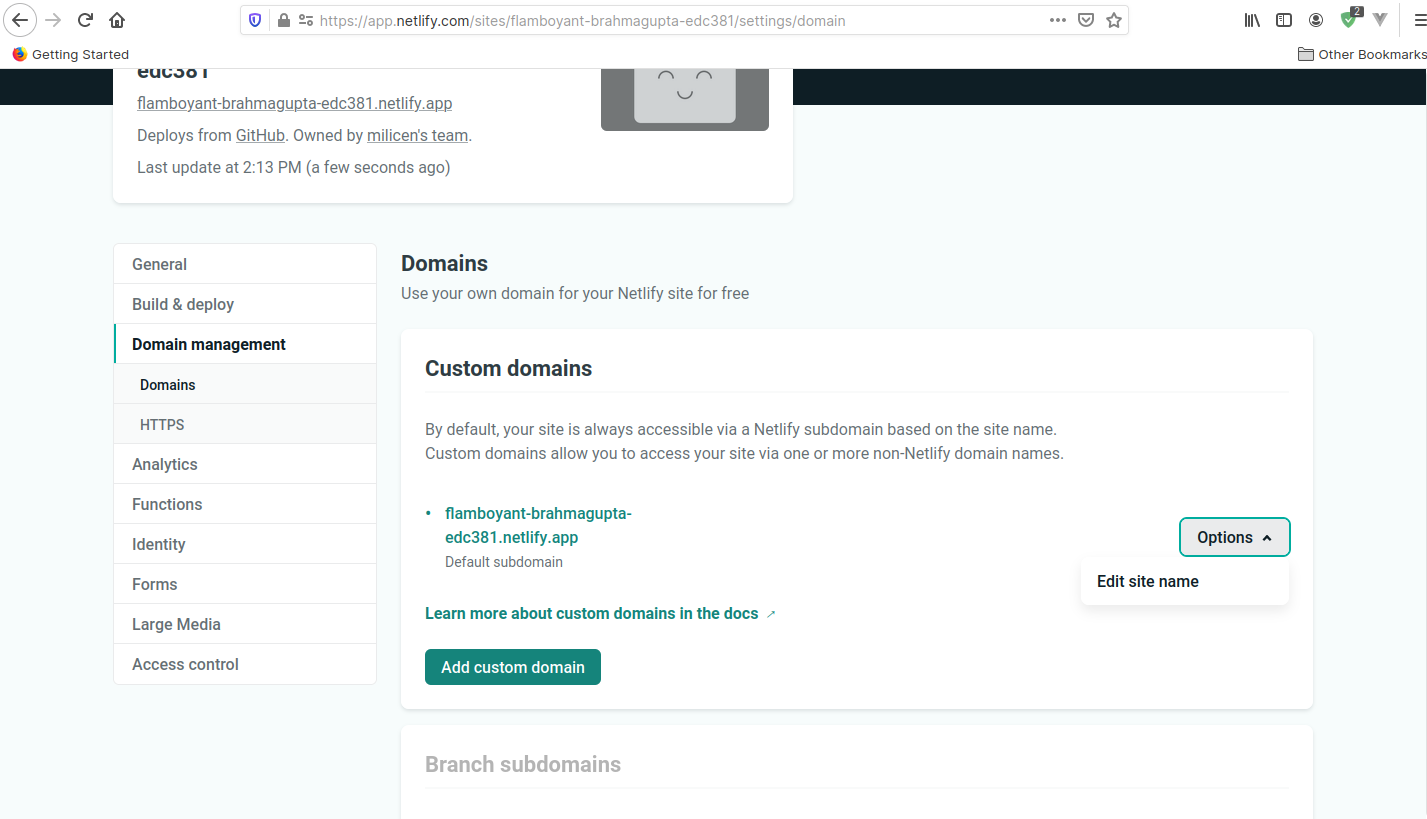
If you have your own domain name, you can use it by adding the domain name into your Custom Domains.
Now your site is live on the internet :)
Wrapping up
Netlify is a great option for those who wants to quickly deploy their site without any troublesome configurations. You can have your site up and ready in no time :)