Figma - A Free and Powerful Design Software
Learn the basics of Figma, a powerful design tool
- figma
- design
What is Figma?
Figma is a vector graphics editor and prototyping tool which is primarily web-based, with additional offline features enabled by desktop applications for macOS and Windows. It focuses on User Interface and User Experience design, with an emphasis on real-time collaboration.
Figma is available on many different platforms including Windows, Linux, Chrome OS, and MacOS. They also have Figma Mirror app for Android and iOS. It's only purpose is to view your designs live, without having to connect via USB or the same wifi connection.
Installation
Note: Your system must be at least macOS Sierra (10.12) or at least Windows 8 in 64-bit environment
Windows
- Go here and click "Desktop App for Windows". It will start downloading FigmaSetup.exe file.
- When download has finished, double click on the file to run it.
- You can then login to start using Figma. If you haven't had an account, you can register first on their sign-up page.
MacOS
- Go here and click "Desktop App for macOS". It will start downloading Figma.zip file.
- After download finishes, extract the files into your /Applications folder.
- Double click on the Figma App icon to launch Figma Desktop.
- You can then login to start using Figma. If you haven't had an account, you can register first on their sign-up page.
Linux
There's no official Linux donwload for Figma. However, there is an unofficial download page and their Figma is always up to date. You can find it here
- Install it by searching it on Snap Store. Alternatively, you can open your terminal and type this line below.
sudo snap install figma-linux
- After installing it, enable using local fonts by creating a symbolic link.
sudo ln -s $HOME/.local/share/fonts $HOME/snap/figma-linux/current/.local/share
- Open figma-linux and login to start using Figma. If you haven't had an account, you can register first on their sign-up page.
Interface
When you open Figma Dekstop for the first time, you'll be faced with your dashboard. Dashboard is where you can browse all of your design projects. By default, Figma comes with some sample projects to get you comfortable with using it.
Let's try making our new project by clicking on "+ New" button on the right side of your dashboard.
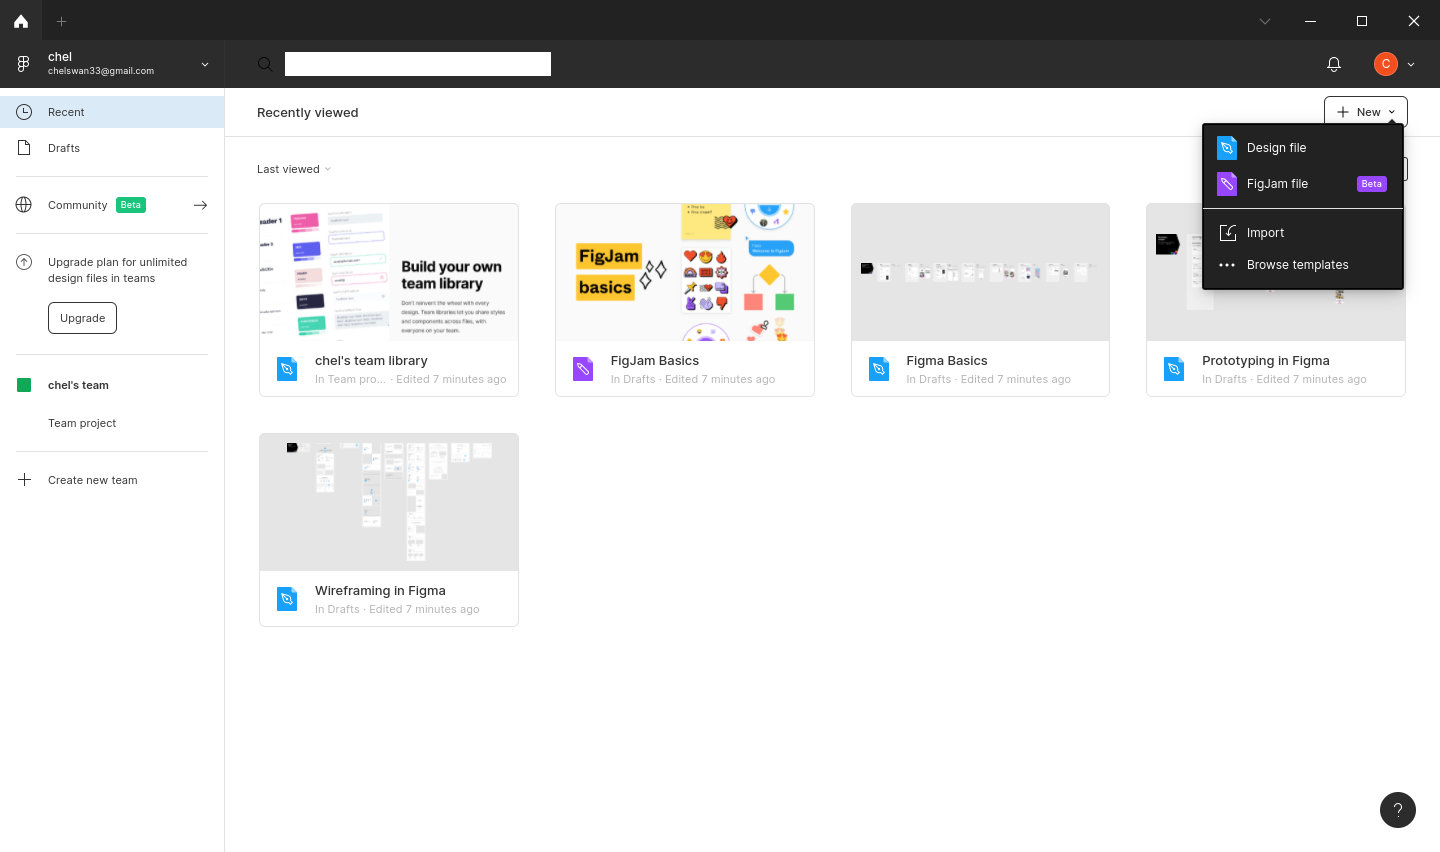
When a dropdown show up, choose "Design File". It will open a new project tab for you which looks like this.
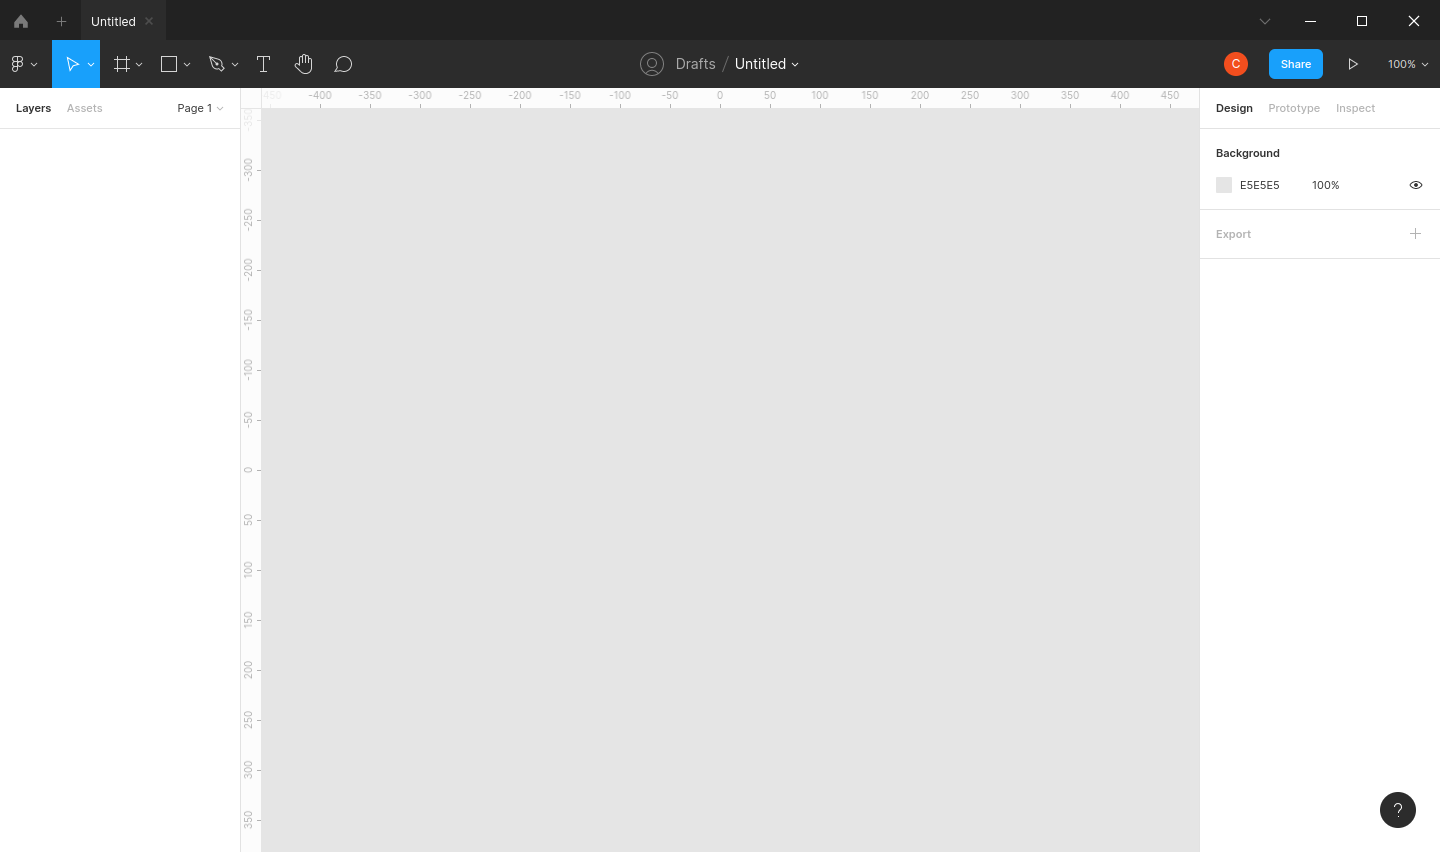
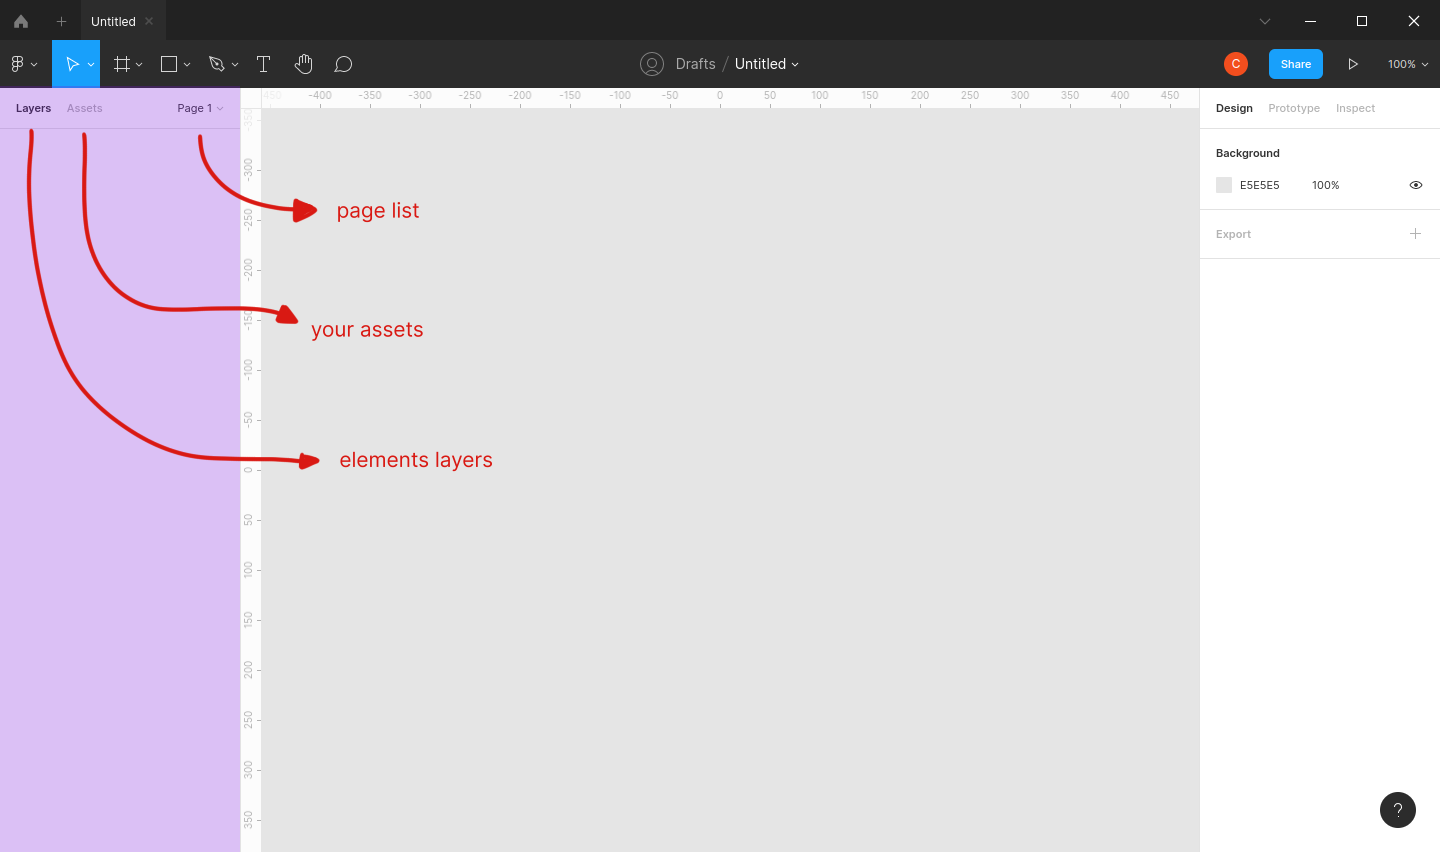
Now let's take a look of it's interface. As you can see, screen is divided into sections.
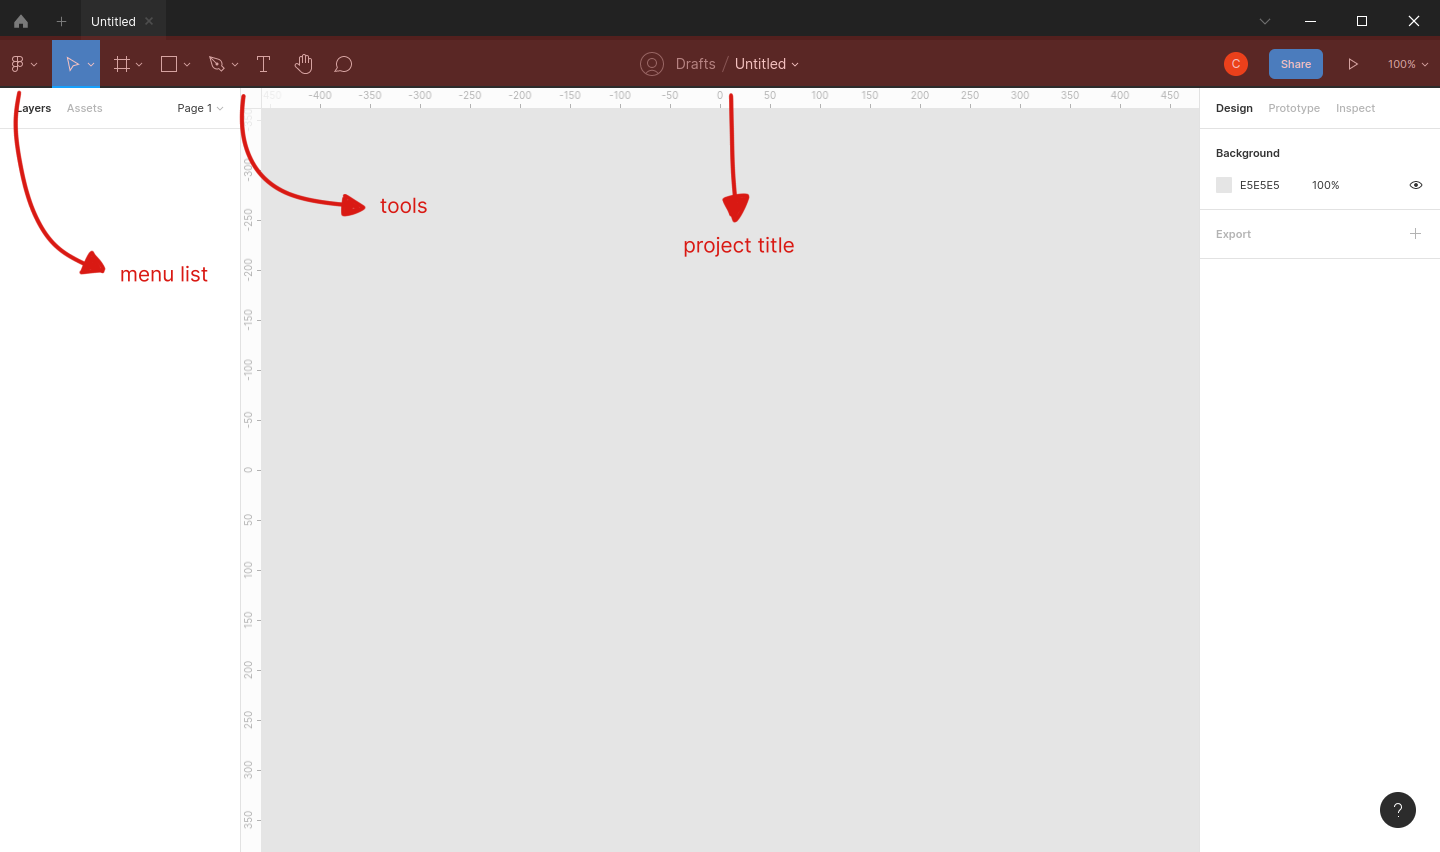
The panel on the left side is where you can see and organize all of your layers, manage your assets, and navigate back and forth between pages. I'll explain more about each of them later.
The middle section is what I call as the canvas. This is the area where you assemble your designs. Every workspace has an unlimited space to place your designs.
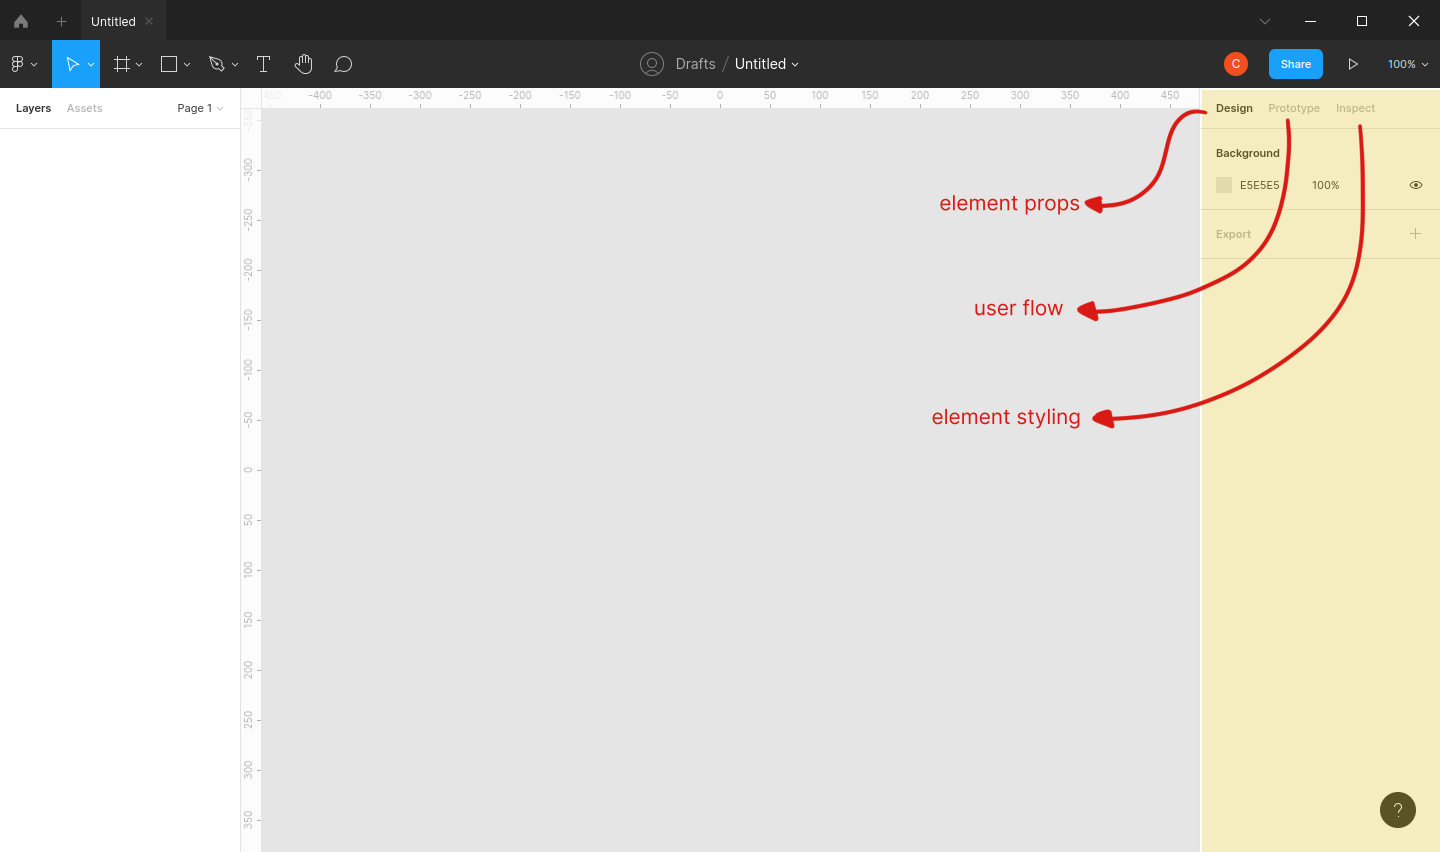
The panel on the right is where you can see and tweak your elements' properties, create user flow, and inspect the element's styling.
The top bar on your workspace is what I like to call as toolbar. Here you can get access to basic tool you need to create your designs and navigate around the canvas.
Making Your First Design
Let's try making our design. Here's what we're gonna make for today.

To start with, go to your toolbar and find the grid like symbol. We are going to make a frame in which we will place all of our design elements. Look at the section on the right. There you can see a long list of pre-defined frames that you can select. Let's click on Phone > iPhone 8. Your canvas should look like this.
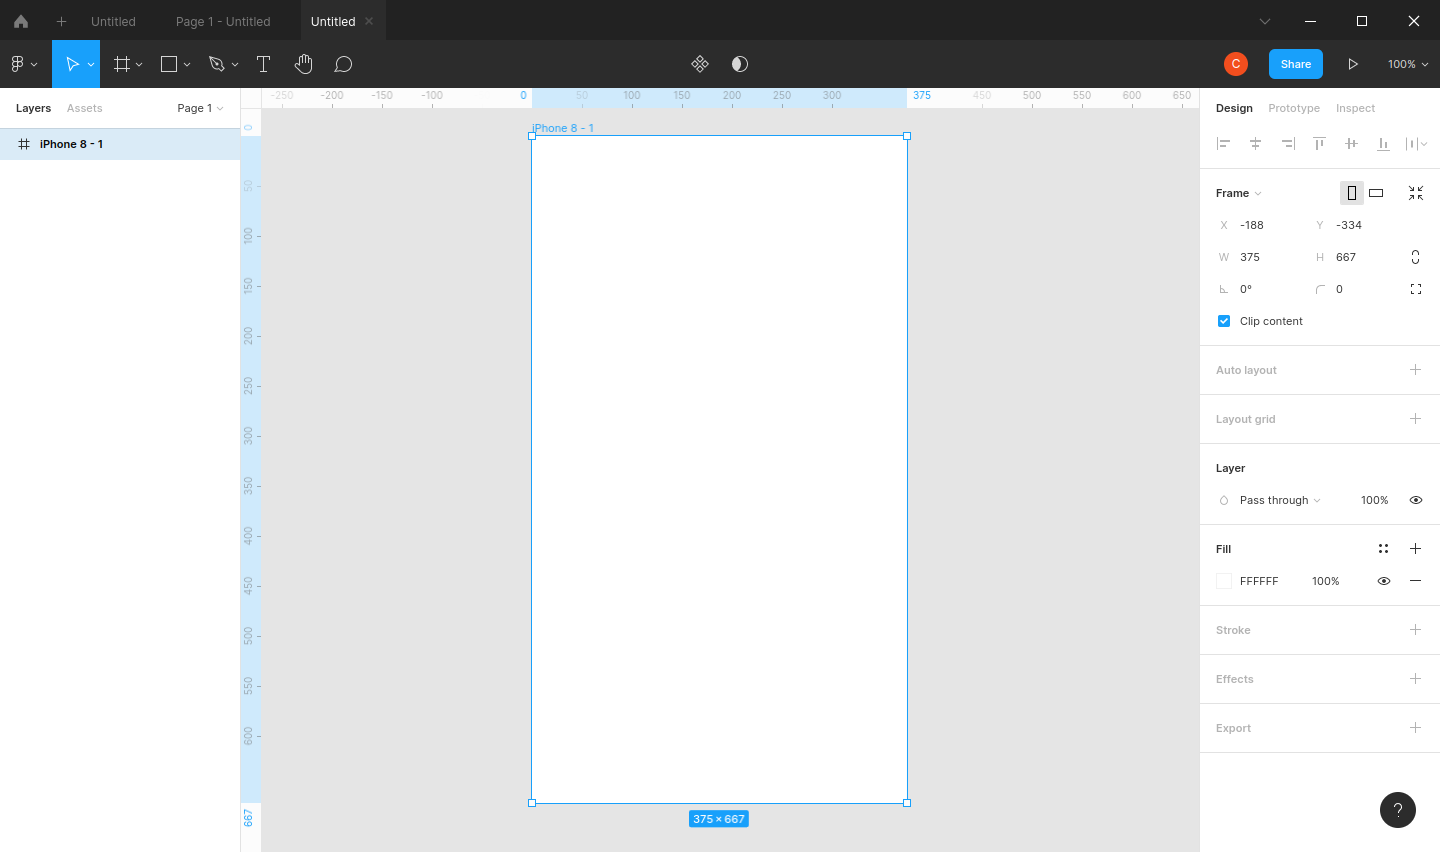
Notice on you layers tab (left section), a frame named "iPhone 8 - 1" has been added. Frames can act as device screen and can also be used as a div (if you're familiar with html).
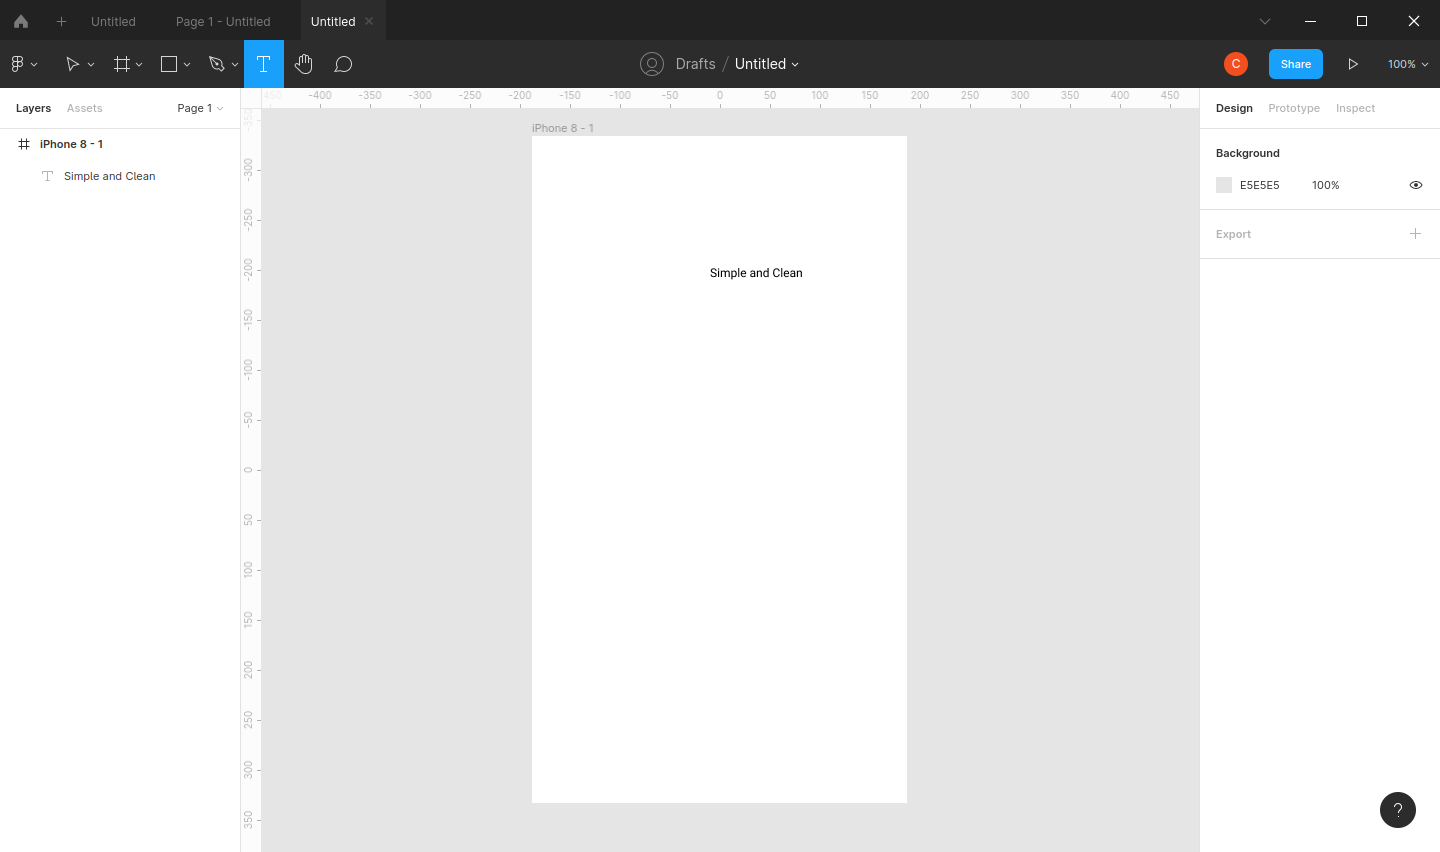
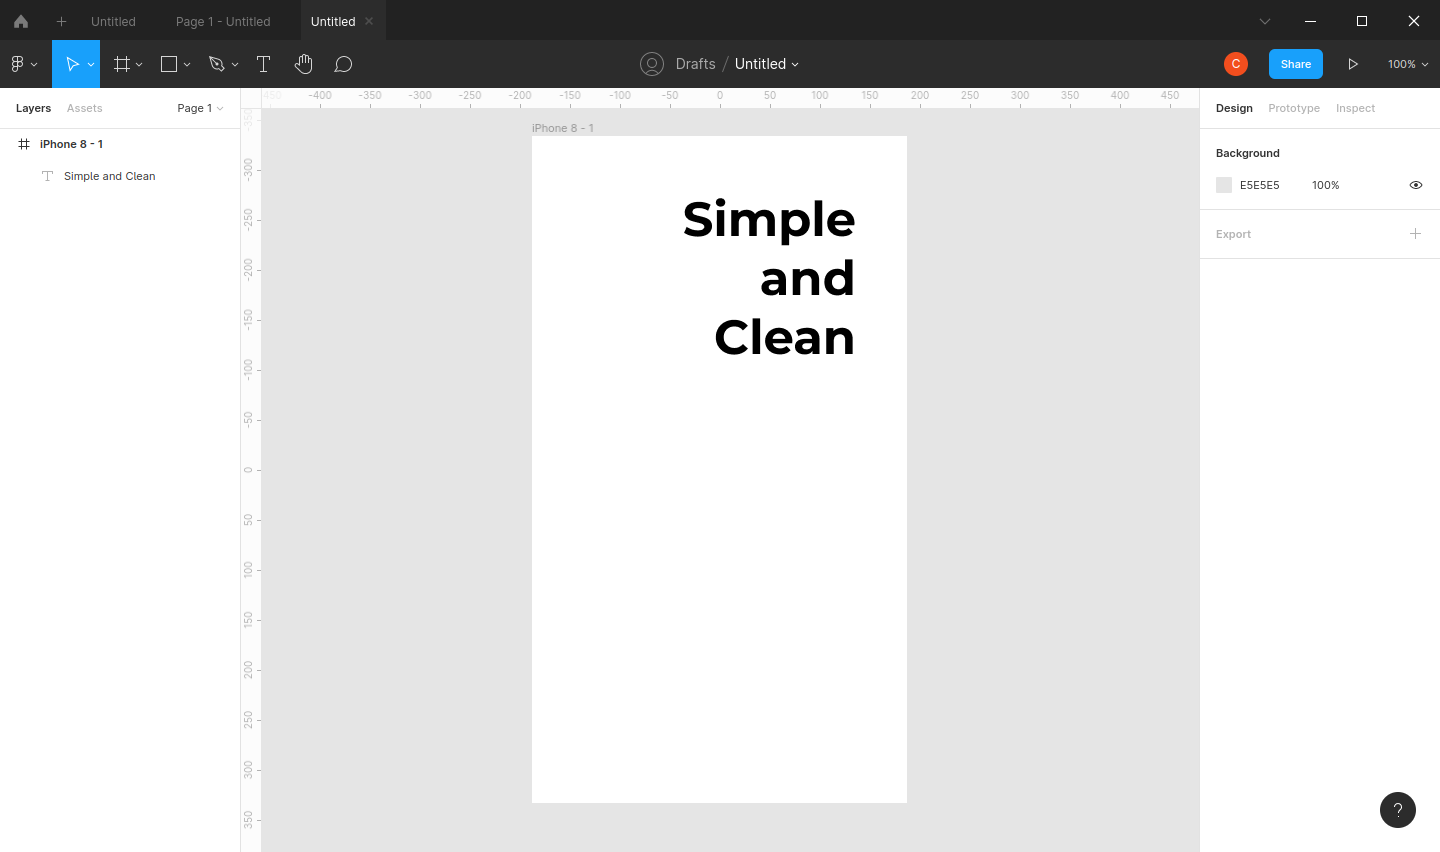
Next, let's add our title and description. Go to your toolbar again, but this time we click on the "T" symbol. Then click anywhere on your frame and start typing.
Our text right now is too small. Let's make it bigger. On your toolbar, click on the mouse pointer symbol. This tool lets you select your elements. Click on your text. The section on the right side should show the text's properties.
There are many properties, which divided into sections, that you can adjust. Here's what each section do.
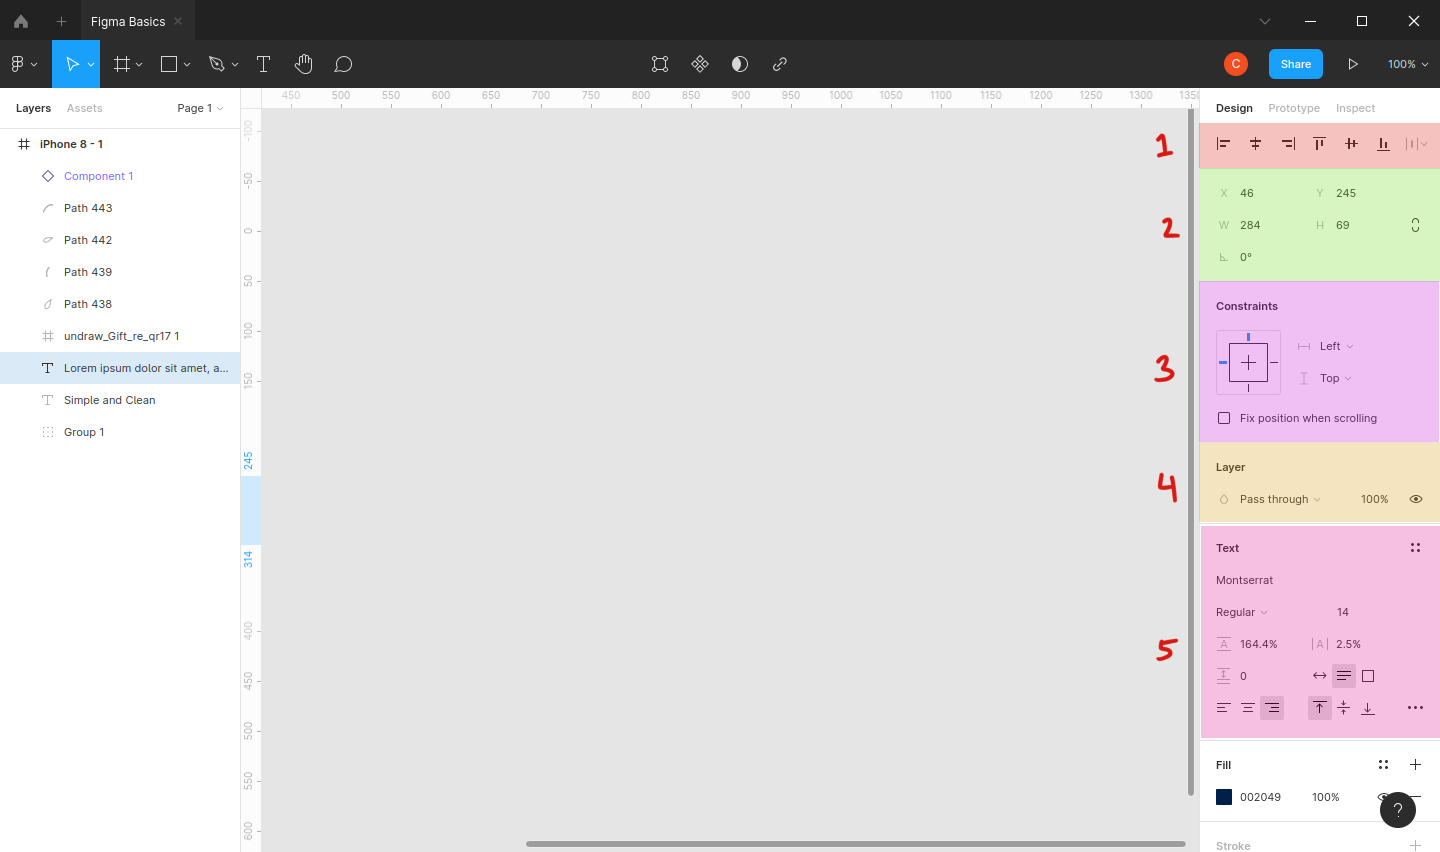
- Adjust the element's alignment relative to its parent container
- Adjust element's position (relative to parent container), size, and rotation.
- Adjust element's constraints
- Adjust element's layer type
- Adjust element's font type, font weight, size, line height, letter spacing, paragraph spacing, text horizontal align, and vertical align.
- Adjust element's color.
- Add and adjust stroke color and width.
- Add and adjust shadow and blur effect.
- Export file
Note: there can be some different properties on other type of elements
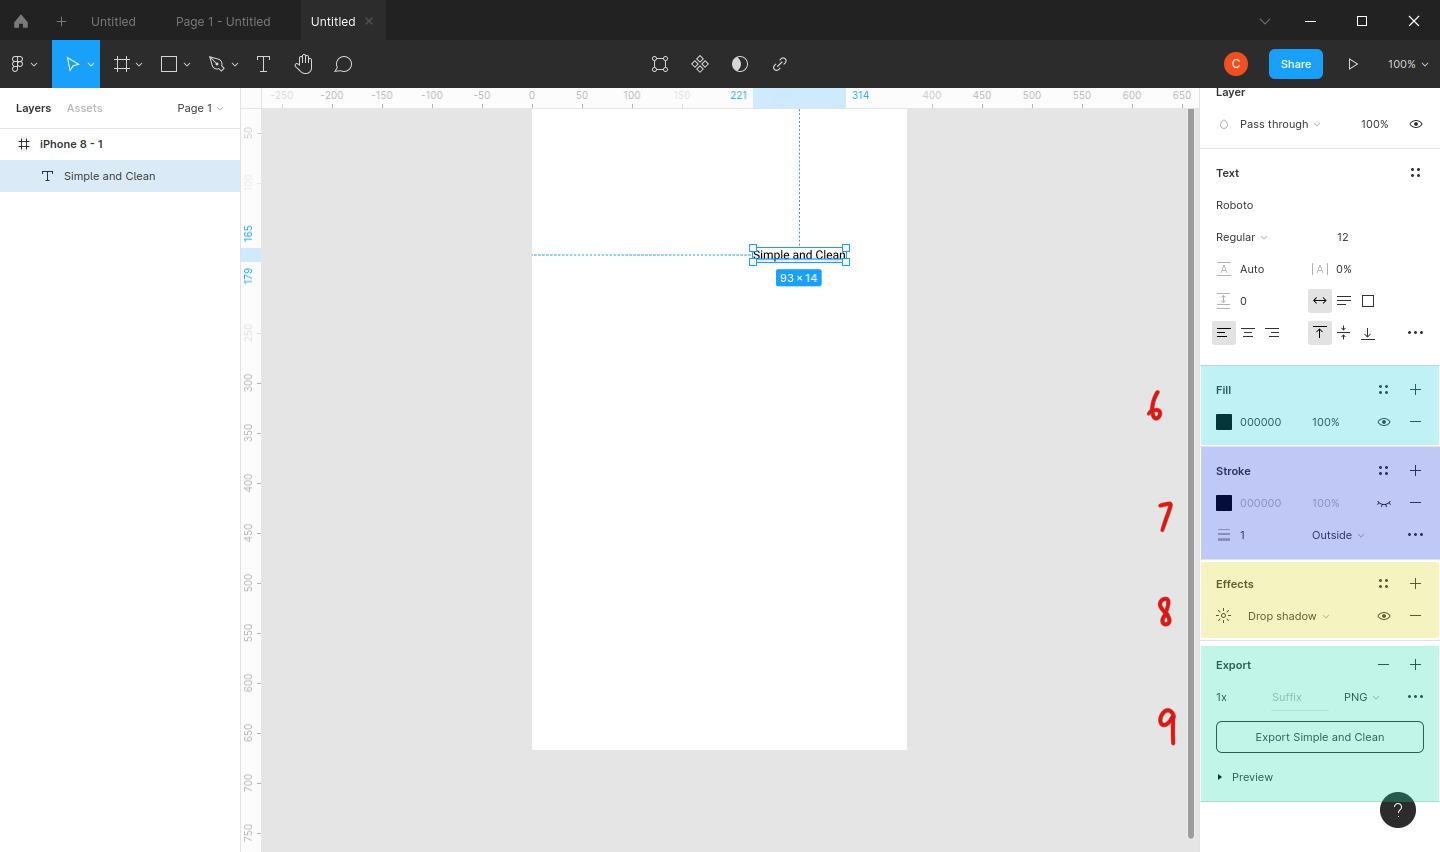
To make our text bigger, you've guessed it, we go to the text section and change the font size. In Figma, font size is defined ony by numbers. If you ever find your text being squashed like in the image below, just resize your text's box.
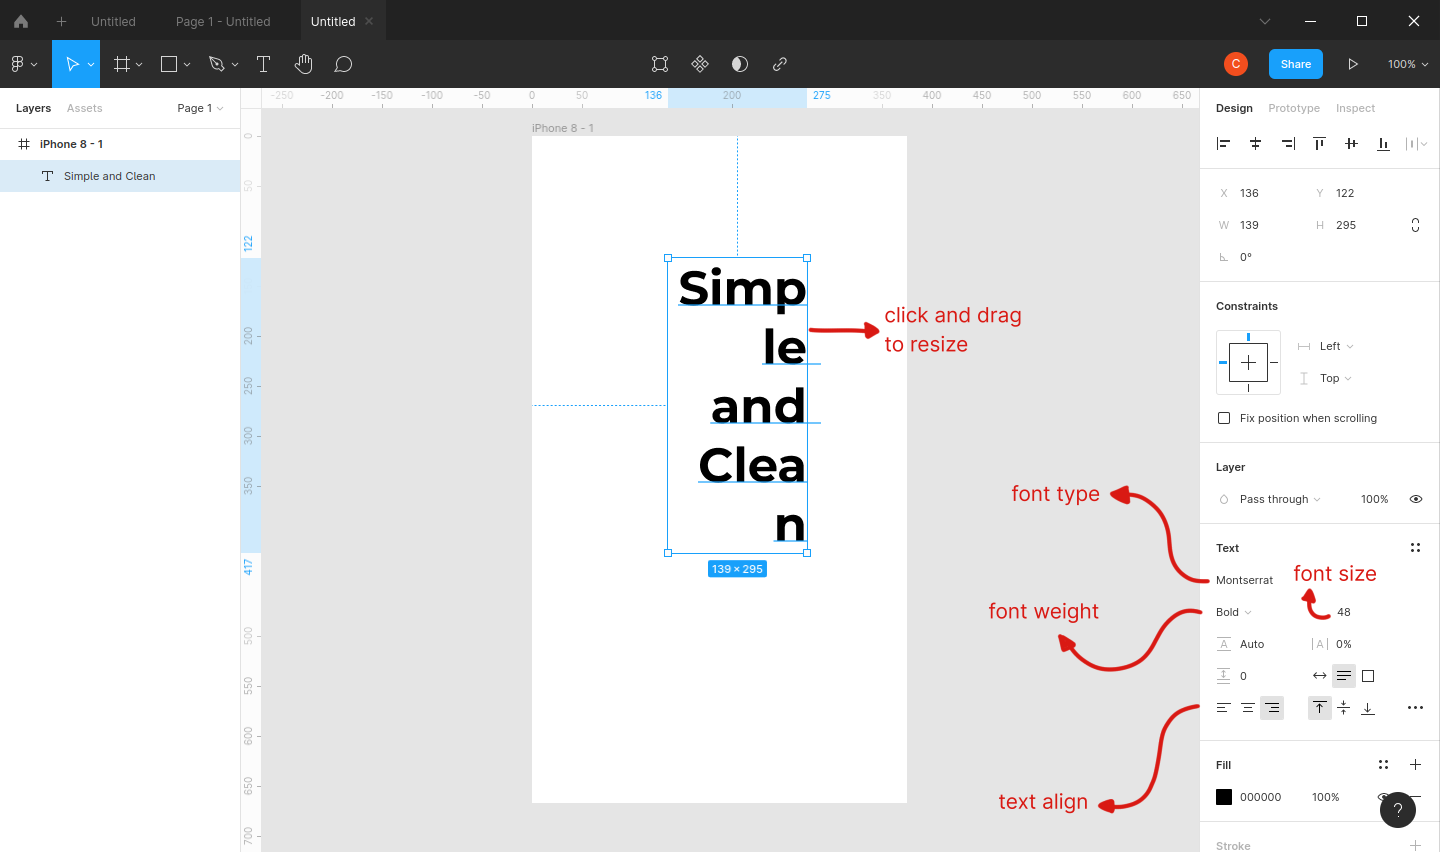
Let's also bold the text and right-align it. Oh, let's change the font type too!
Now you can position your text on the upper right side of the frame like this.
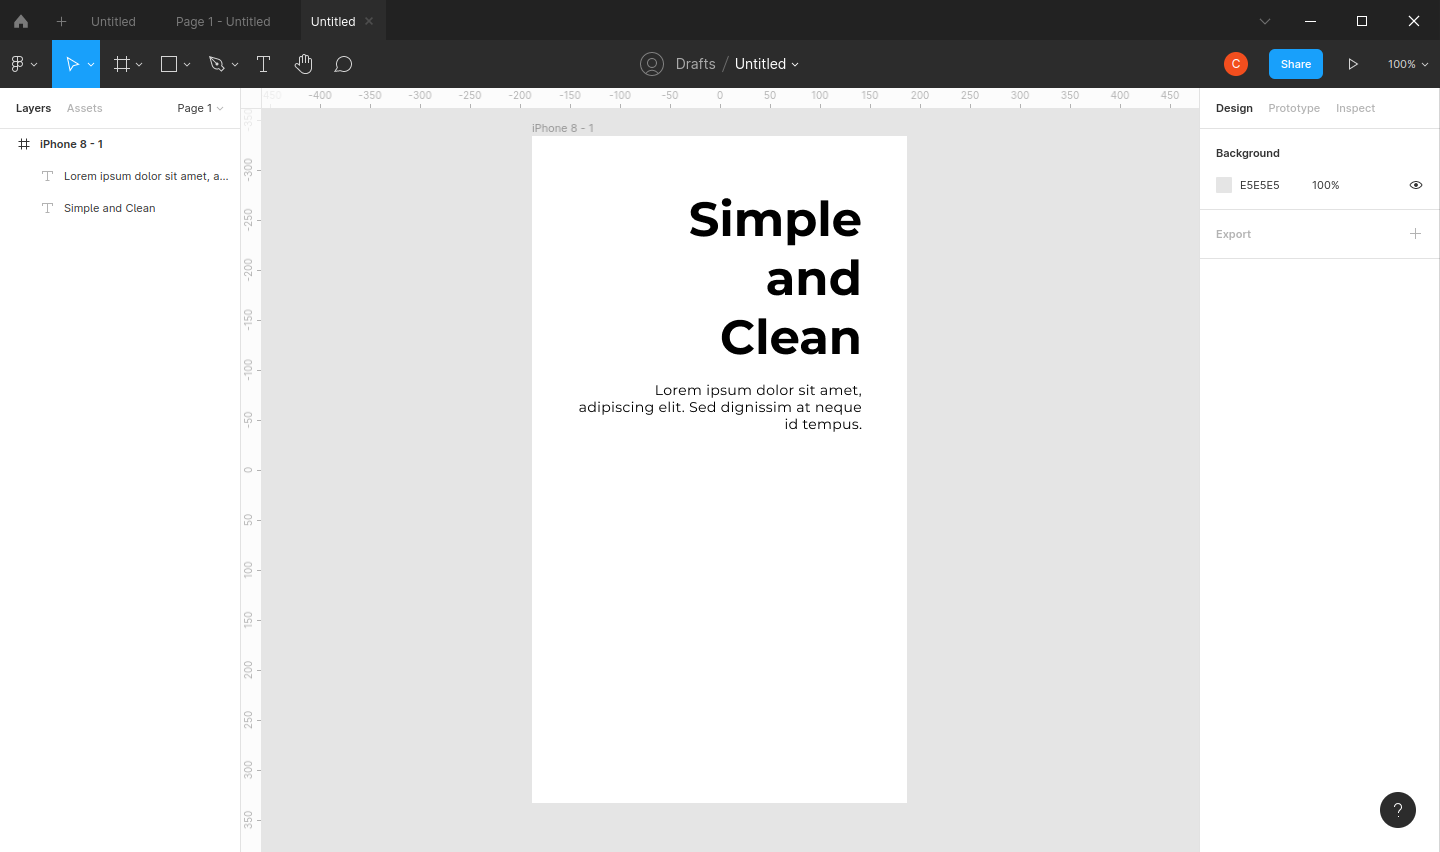
Let's do the same with our description with font size of 18, and font weight regular. Readjust the box to make the text look good on the frame.
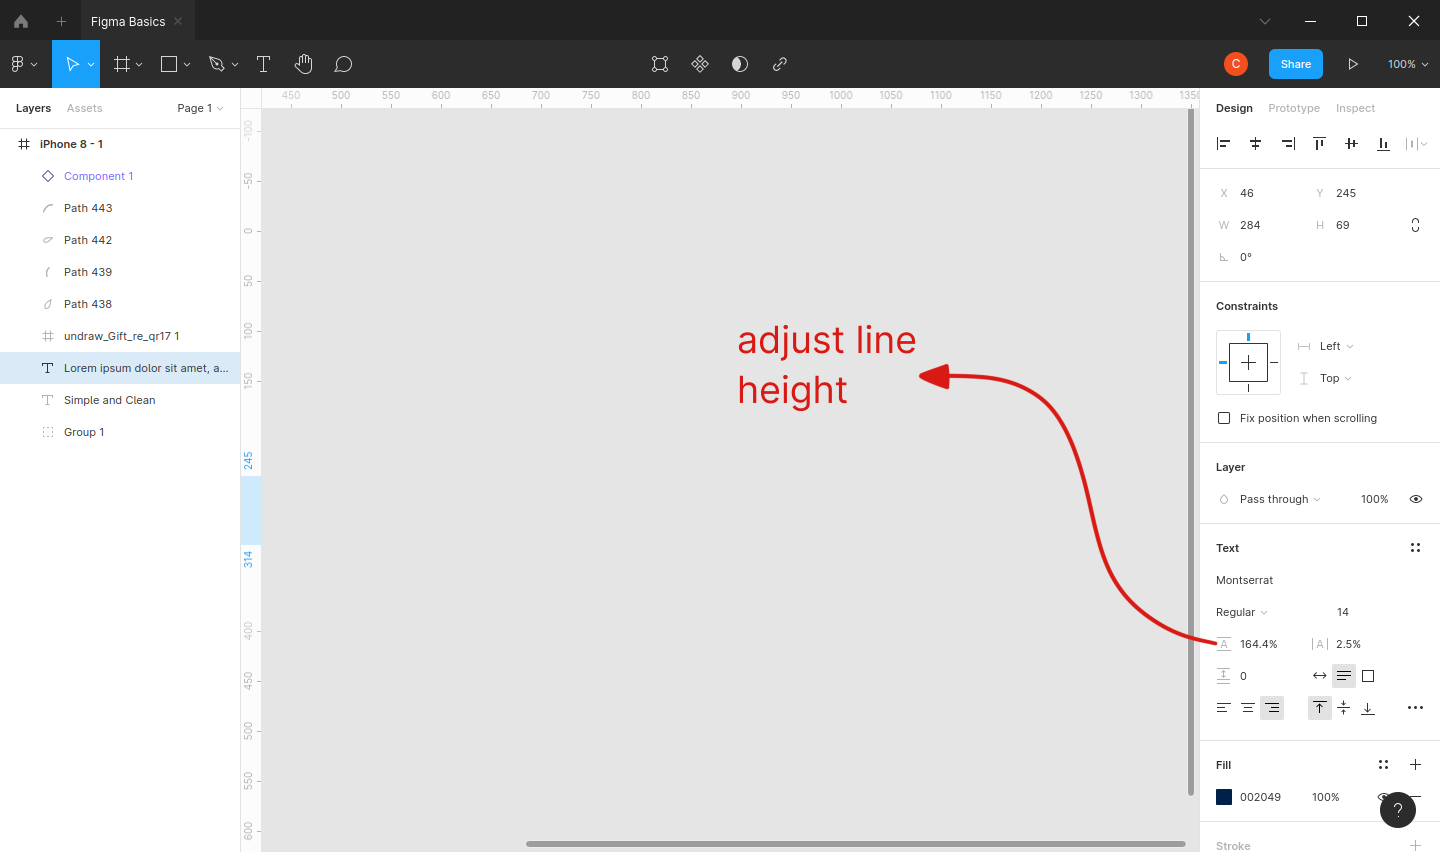
If you feel your text's line height is not enough, you can adjust them here.
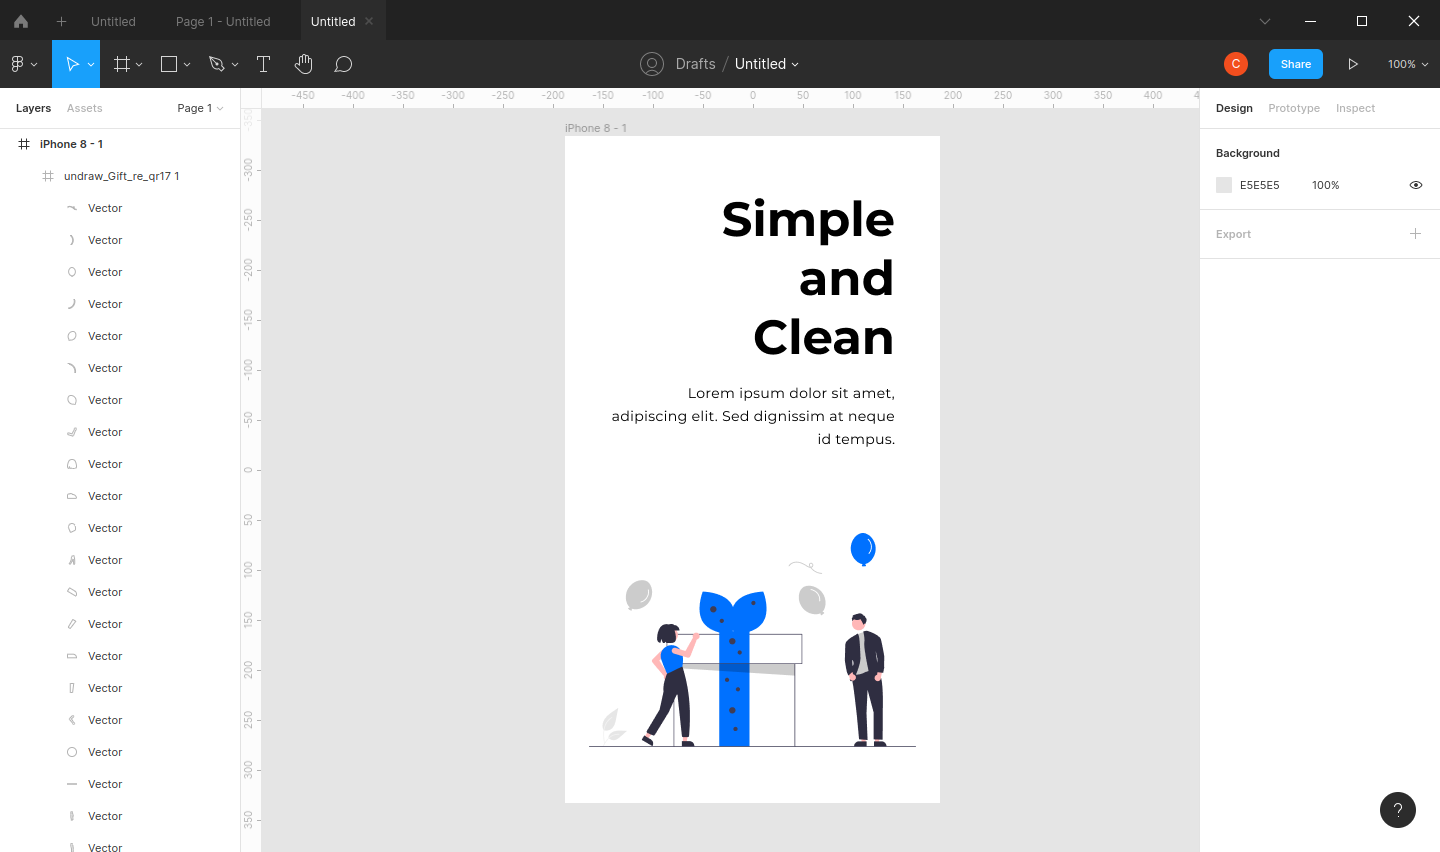
Now go to your browser and head to unDraw. Pick any illustration that you like and download it. I chose the "Gift" illustration. Download it as SVG so that we can tweak it in Figma :)
Now go back to your Figma Desktop again. Open your folder containing the illustration you've just downloaded and drag it to your Figma canvas.
The image is now too big. Scale it down by readjusting the container box.
Oops, did you squash your image? Let's fix this. Hit ctrl + z on your keyboard to undo your action. Now with your image turned back to its normal size, hit the shift key on your keyboard while you resize the container box. It should now keep its original proportion. Position them in your frame so that it looks like this.
Our design is almost done :)
We've been focusing too much on the canvas for a while now. Let's see how our layers are doing.
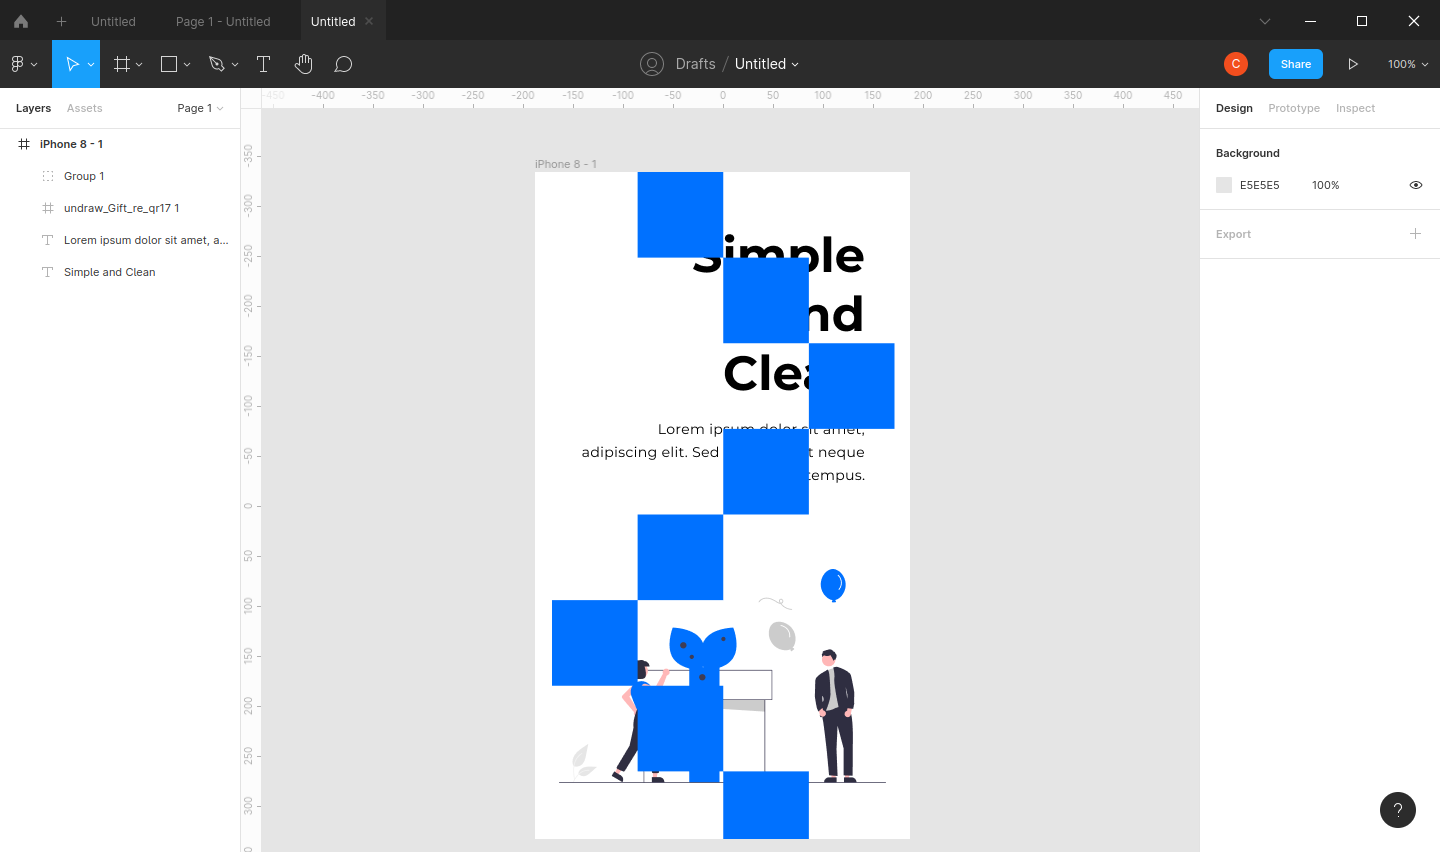
Don't be surprised if you have along list of layers, especially after we've added our SVG image here. You can hide your SVG image frame by clicking on it. But most importantly, if you look closely, our layers are stcaked on top based on which elemnts are added the most recently.
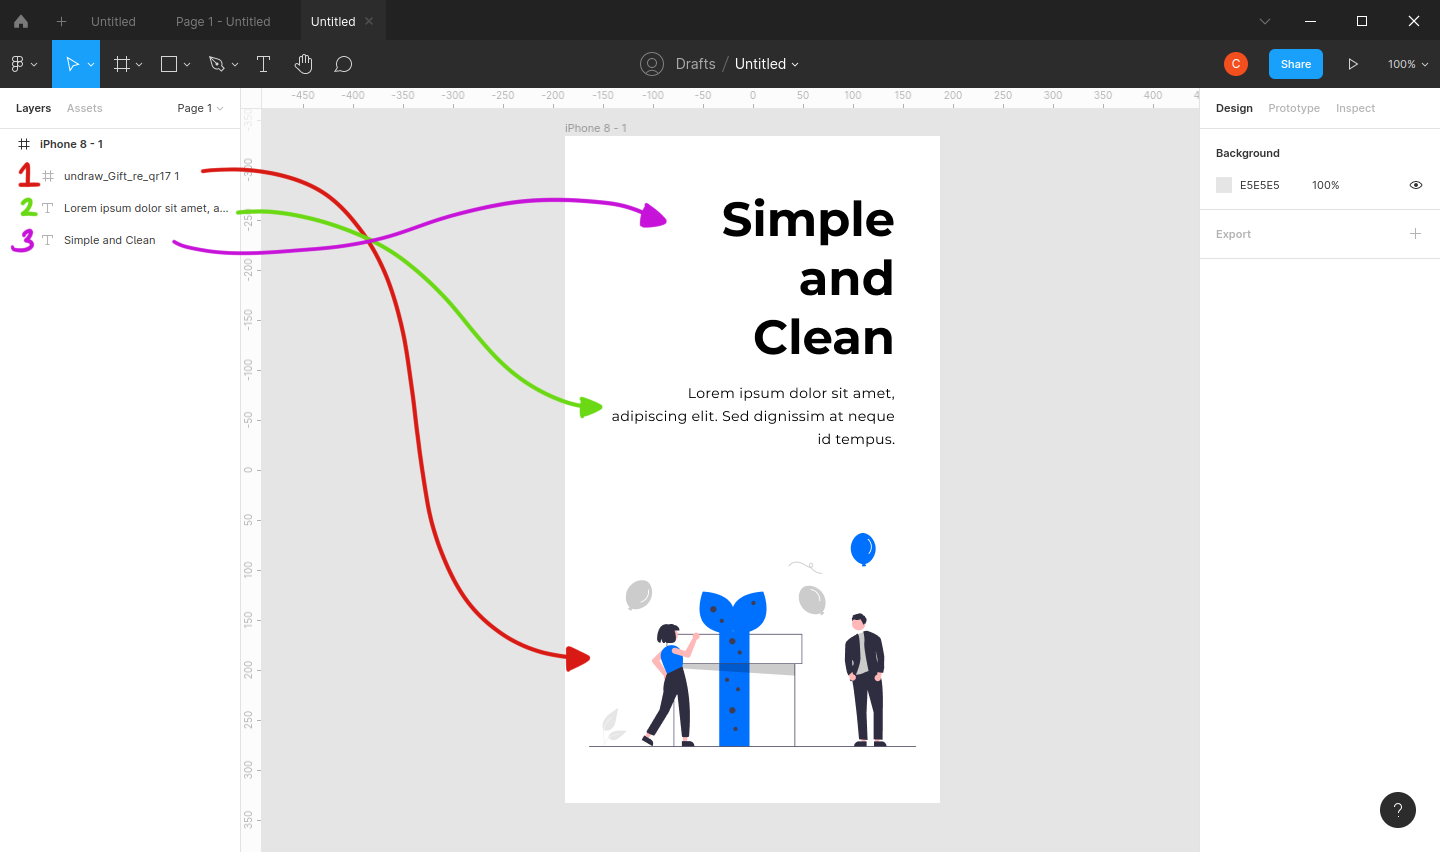
With our layer structure like this, this means our "Simple and Clean" text is behind our description text. And our image is in front of our description text.
For demo purposes only, I'll change the description text's color and stack all elements on top of each other.
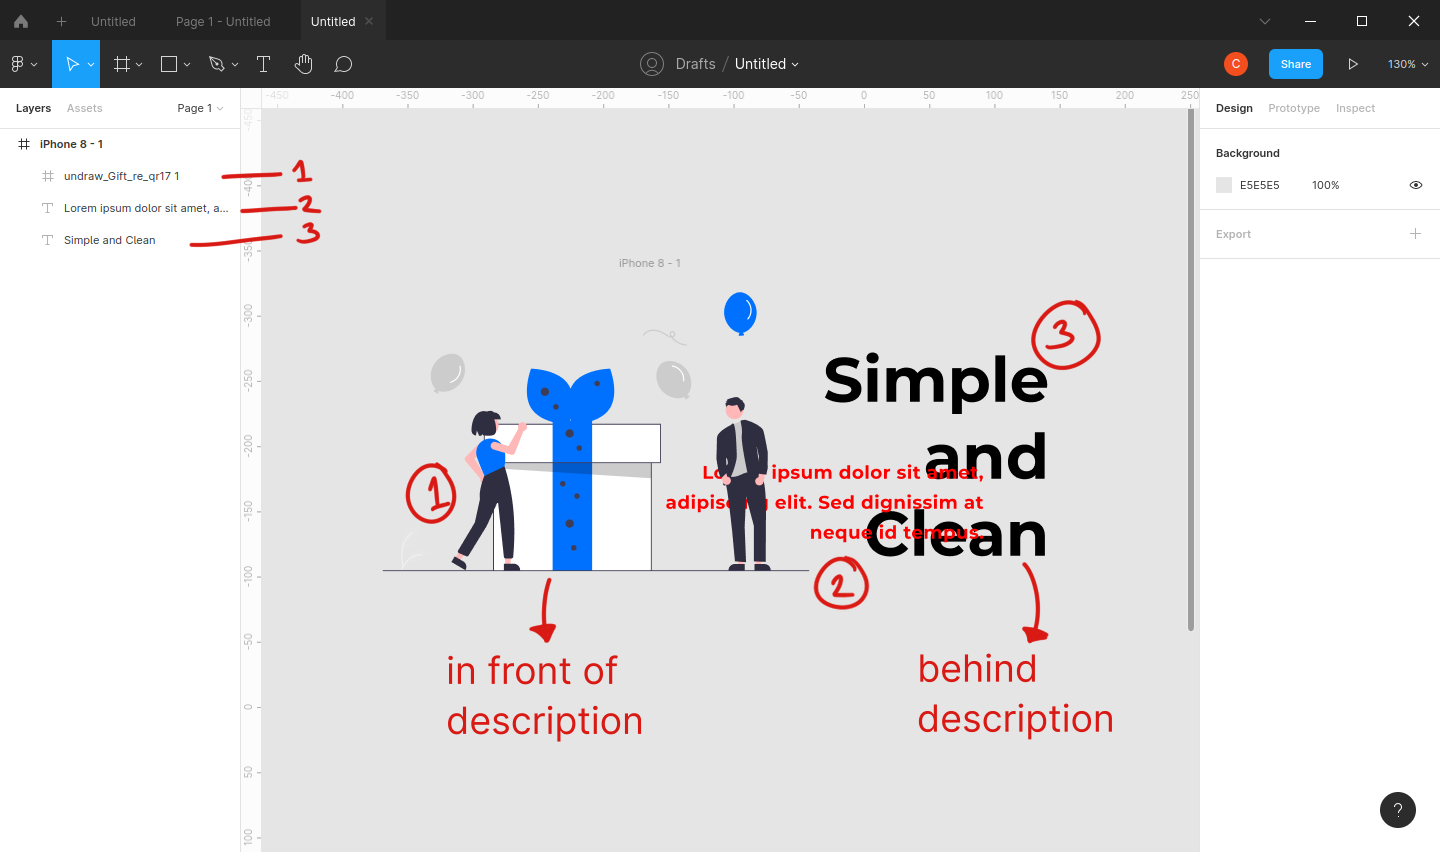
So basically, if you want to make an element to appear on top of another element, move the element layer to the top, and vice versa.
Let's make a patterned background to see how this stacks work more clearly.
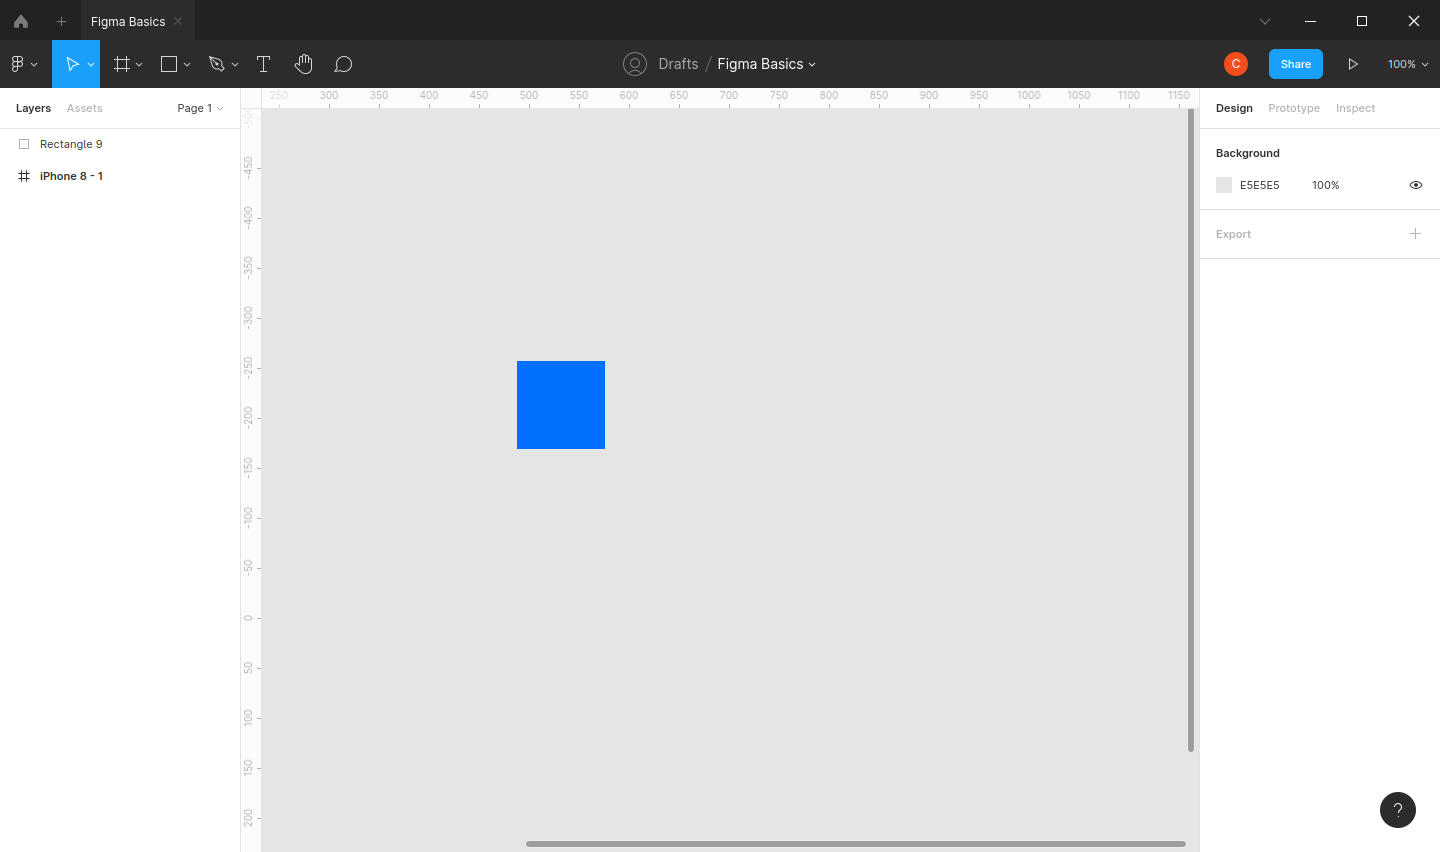
Go to your toolbar and click on the square symbol. Click anywhere on your canvas and drag to make a square. Did you miss the square? Undo your action and press shift while creating your square. You'll get a nice equal sided square :)

Change your square color to blue. You can do this by tweaking the "Fill" in your right side panel.
Now that we have a nice looking square, let's duplicate it by hitting ctrl + d on your keyboard. After that, drag your duplicated square to desired position.
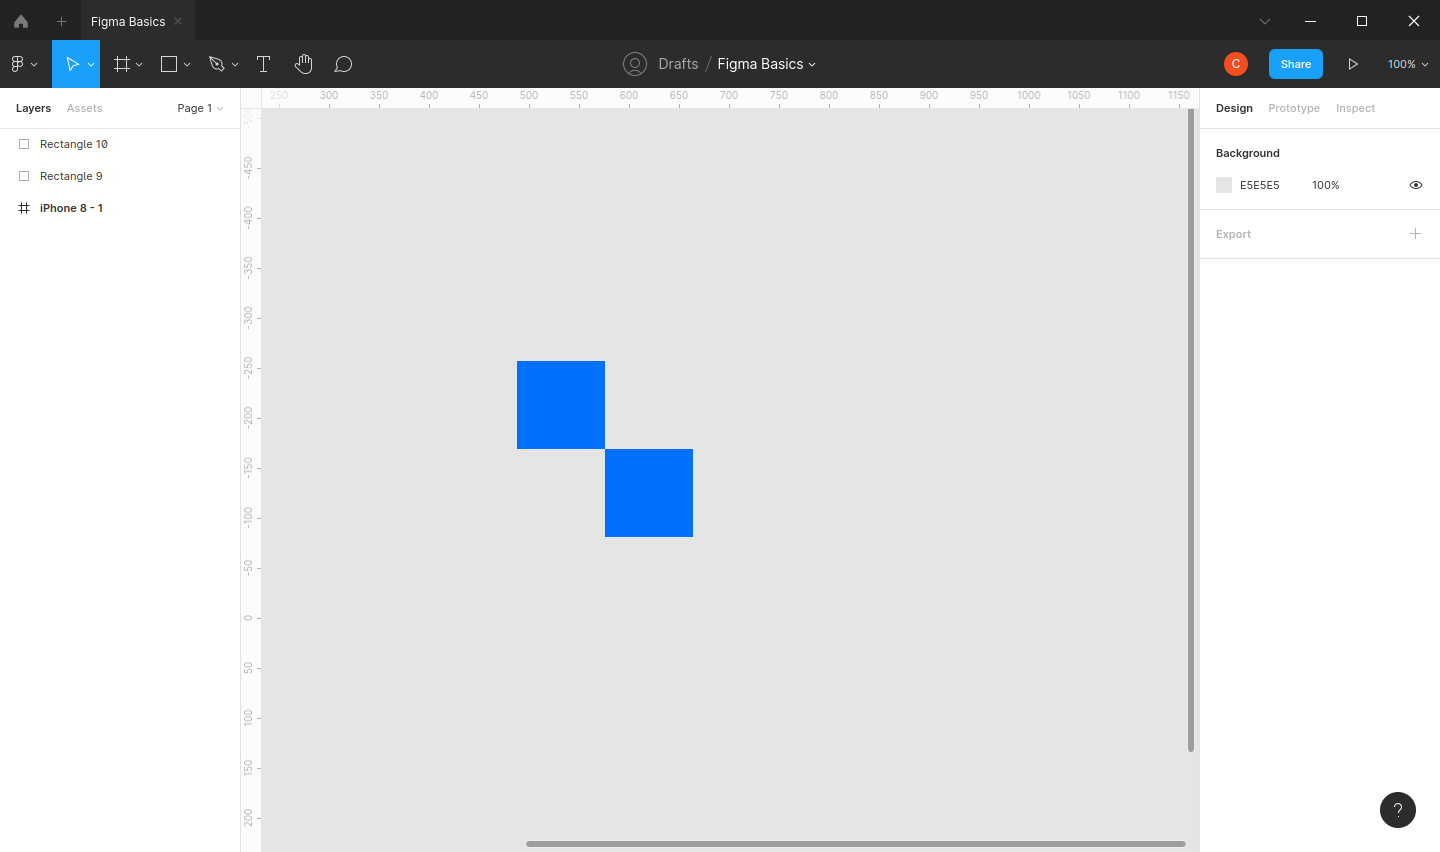
Duplicate your square multiple times and position it to your liking. I made mine like this.

Select all of your squares by block select them. Group them by pressing ctrl + g on your keyboard. Drag your grouped squares to your frame. Resize and position it to your liking. This is how mine looks.
Now we want to make this squared pattern as our background, which means it will be below any other elements. This is where the layer stack comes into play :)
Click your square group on your layers panel. Drag it to the bottom of our first element "Simple and Clean". It should look something like this.
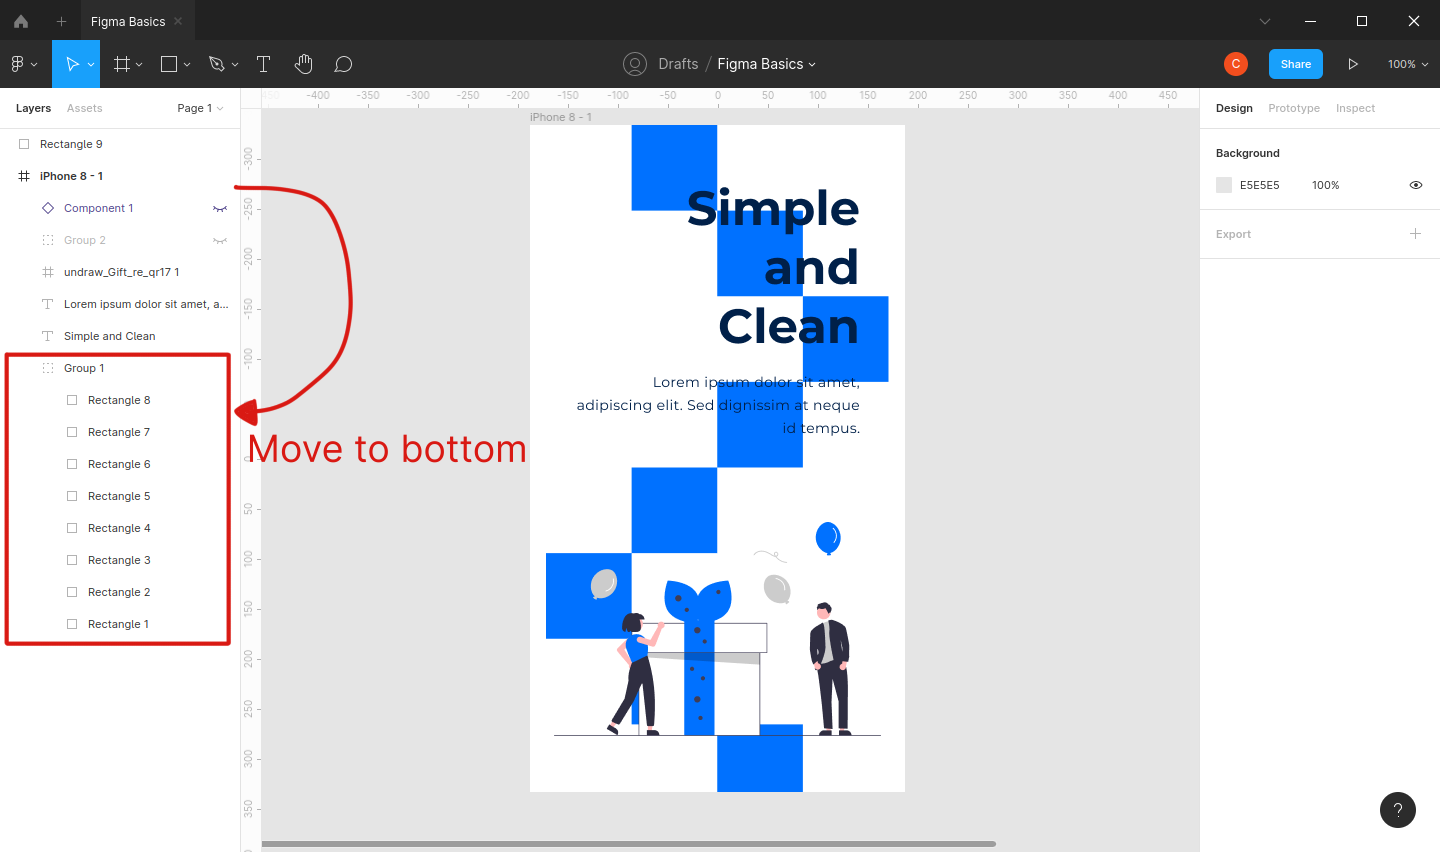
All other elements that we've made are now in front of our square group. Nice!
Let's faint the squares color to make it look less of a priority. click on your square group, head to the right panel and tweak the opacity of your color fill.
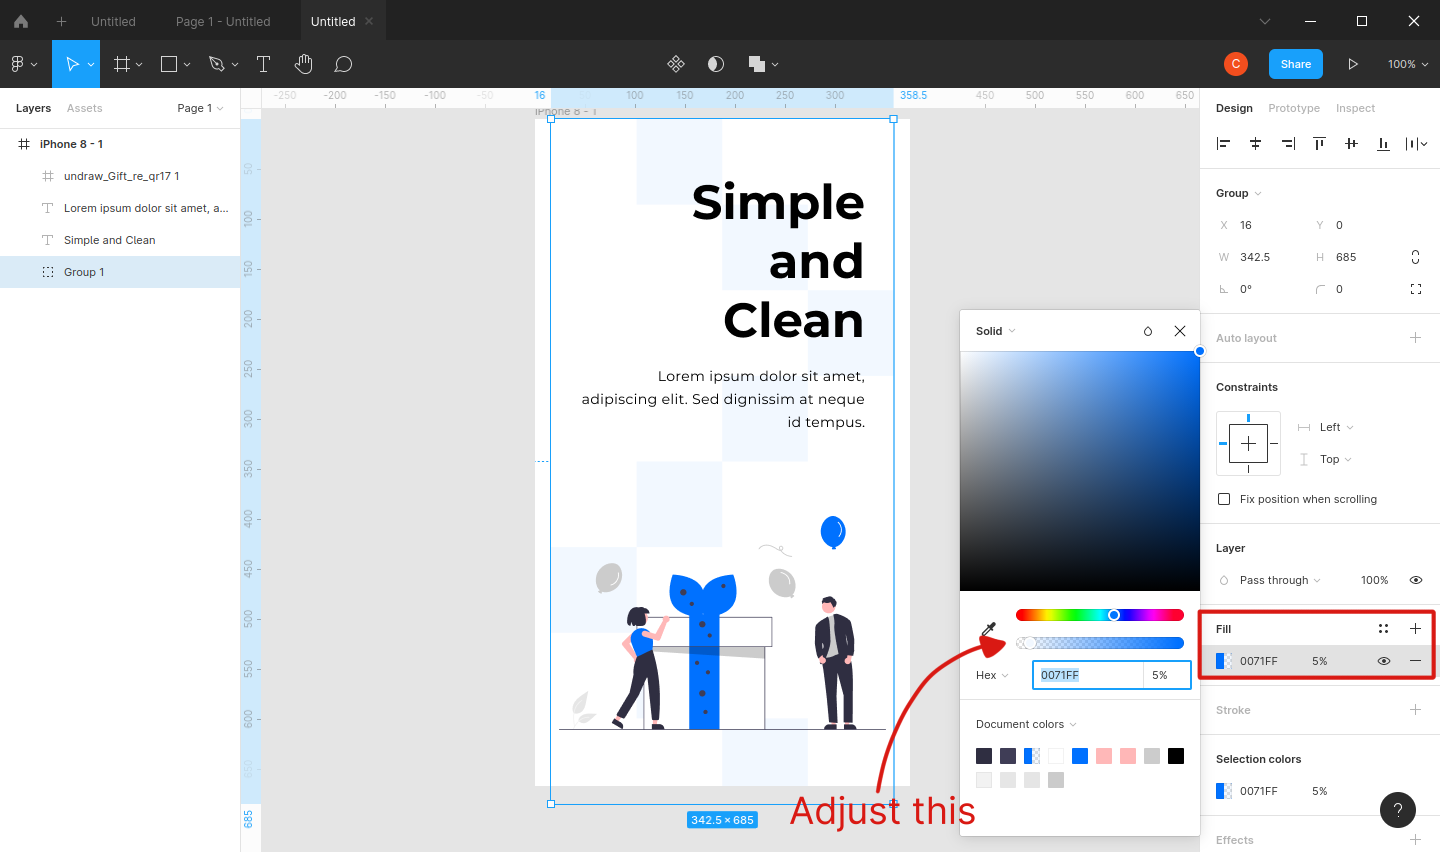
Looking pretty neat :)
Do some readjustment if you like until you're happy with it.
This is my end result :)
Don't forget to name your projects on the middle part of your toolbar :)
And that's it. You now know how to use Figma :)
Wrapping up
Figma is a great designing and prototyping tool. It has a great UI and it's easy to get started. While this article only covers the most basic usage of Figma, it already covers almost all you need to know to start designing using Figma :)